


You can use alert monitoring to keep track of the running status of data migration tasks. This topic describes how to create and edit alert rules.
Limitations
You can view only the existing alert settings for a data migration task in the Completed state.
Procedure
Log in to the OceanBase Cloud console.
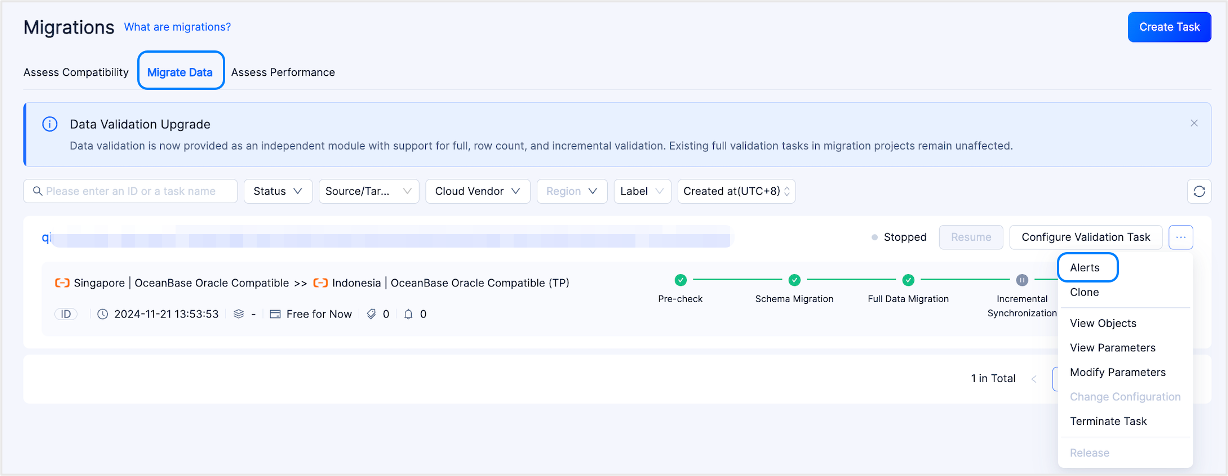
In the left-side navigation pane, click Data Services > Migrations.
On the Migrations page, click the Migrate Data tab.
On the Migrate Data tab, click Alerts next to the target task.
Create an alert rule
In the Alerts dialog box, click Create under Incremental Synchronization Delay Alert or Task Exception Alert based on your needs.
In the Create Alert Rule dialog box, configure the following parameters.
Rule configuration.
ParameterDescriptionRule Name The name of the alert rule. The name must be 2 to 32 characters long, and can only contain numbers, English letters, and underscores (_). Alert Target Type The alert target type. The default value is Data Services/Data Migration. This parameter cannot be modified. Data Migration Task The default value is the target task that you selected on the Migrate Data tab. This parameter cannot be modified. Alert Type - If you create an Incremental Synchronization Delay Alert rule, the alert type is Metric.
- If you create a Task Exception Alert rule, the alert type is Event.
Configuration Method This parameter is displayed only when the alert type is Metric. The options are Custom and Use Template. - If you select Custom, configure the parameters based on the page prompts.
- If you select Use Template, select the target template from the drop-down list. For more information, see Create an alert rule template.
Alert Event/Alert Frequency This parameter is displayed only when the alert type is Event. An alert event is an exception in the data migration task. This parameter cannot be modified. Select the appropriate alert frequency from the drop-down list based on your needs. Notification configuration.
ParameterDescriptionNotification Content Only the default notification content is supported. Alert Level The options are Critical, Warning, and Info. After you select an alert level, the corresponding alert method is displayed. Alert Notification Recipient The options are Alert Contact Group and Alert Contact. - If you select Alert Contact Group, select the target alert contact groups from the drop-down list. You can also click Create Alert Contact Group to add an alert contact group. For more information, see Add an alert contact group.
- If you select Alert Contact, select the alert contacts in the Select Alert Contact section. You can also click Add Alert Contact to add an alert contact. For more information, see Add an alert contact.
Notification Effective Period The alert is triggered only within the configured effective period of the rule. If you do not specify an effective period, the alert rule is effective throughout the day.
After the configuration is completed, click Create.
Edit an alert rule
If an alert rule already exists for a task, you can Enable or Disable the alert rule in the Alerts dialog box. You can also Edit the alert rule.
In the Alerts dialog box, click Edit next to the alert rule that you want to modify.
You can also hover the pointer over the alert icon under the target task and click Edit in the upper-right corner of the Alert dialog box.
In the Edit Alert Rule dialog box, modify the configurations. For more information, see the Create an alert rule section.
Note
When you edit an alert rule, you cannot modify the alert target type or alert type.
After the modification, click Submit.
View an alert rule
If an alert rule already exists for multiple tasks, you can View the alert rule, but you need to go to the Alerts page to Enable or Disable the alert rule. For more information, see View an alert rule.