


This topic provides the instructions on creating an instance through Alibaba Cloud Marketplace.
Step 1: Subscribe to OceanBase Cloud services in Alibaba Cloud Marketplace
Navigate to Alibaba Cloud Marketplace and sign in with your Alibaba Cloud root account.
Note
If you use a RAM user instead of the root account, sign in with the root account and attach the
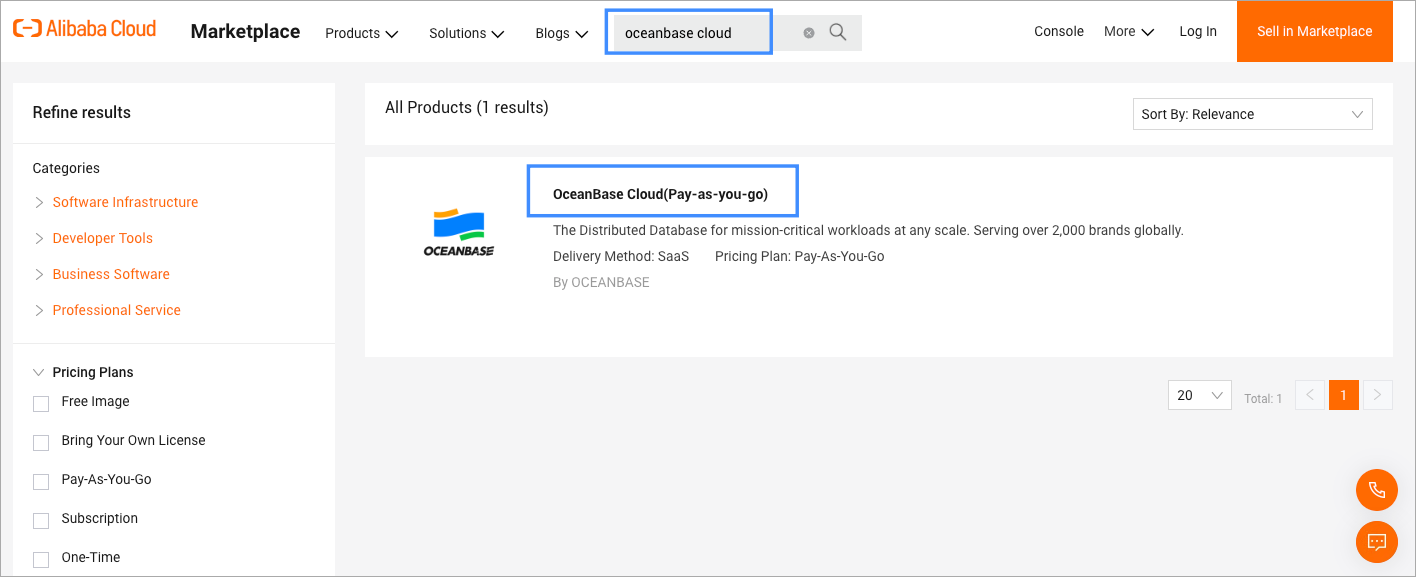
AliyunMarketplaceFullAccesspolicy to that RAM user so it can use Alibaba Cloud Marketplace. For more information, see Create a custom policy.Search for OceanBase Cloud in Alibaba Cloud Marketplace, and on the search result page, click OceanBase Cloud(Pay-as-you-go).
On the details page, click Active Now, then review the agreement and click OK to confirm activation.
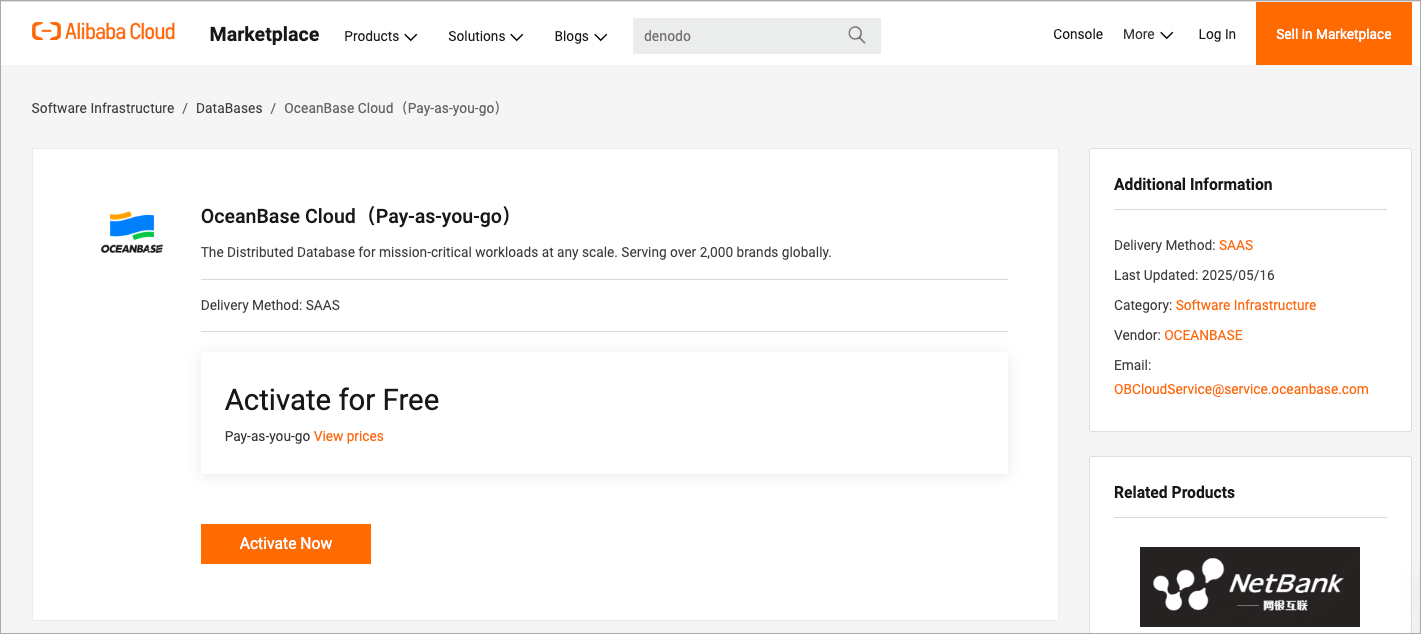
Note
The service activation process may take a few minutes. You can view the details in the Alibaba Cloud console.
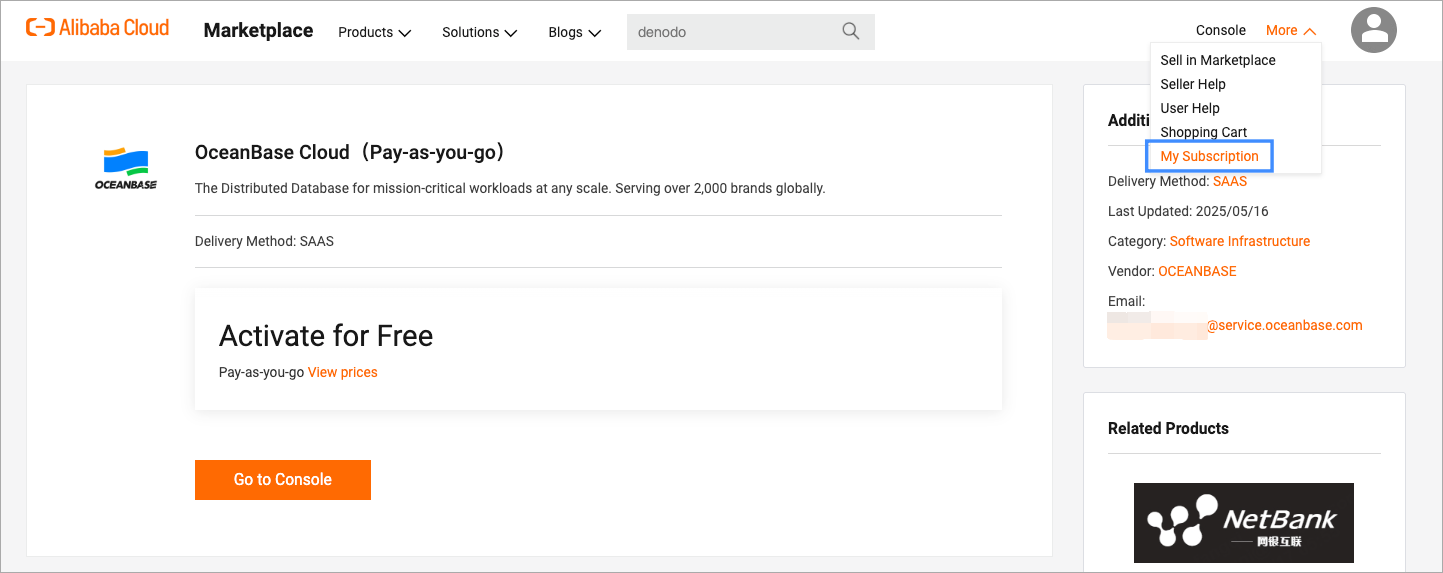
After the activation, in the upper right corner of the details page, select More > My Subscription to navigate to your subscription list.
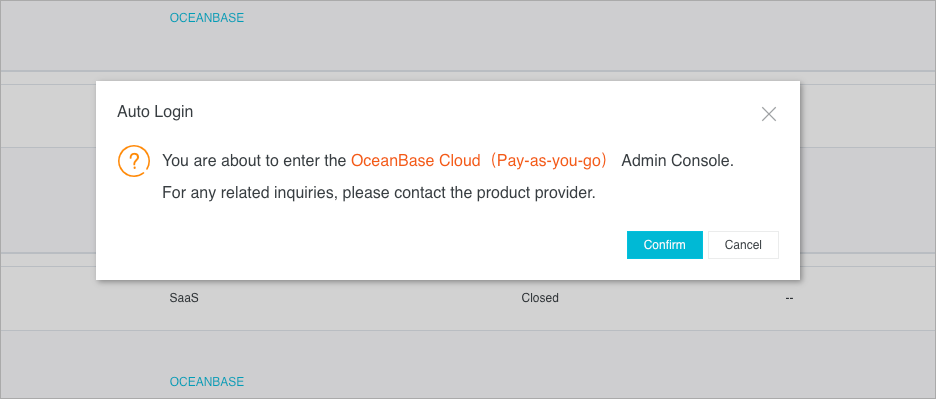
On the My Software Subscription page, find your OceanBase Cloud subscription and click Auto Login in the Actions column.
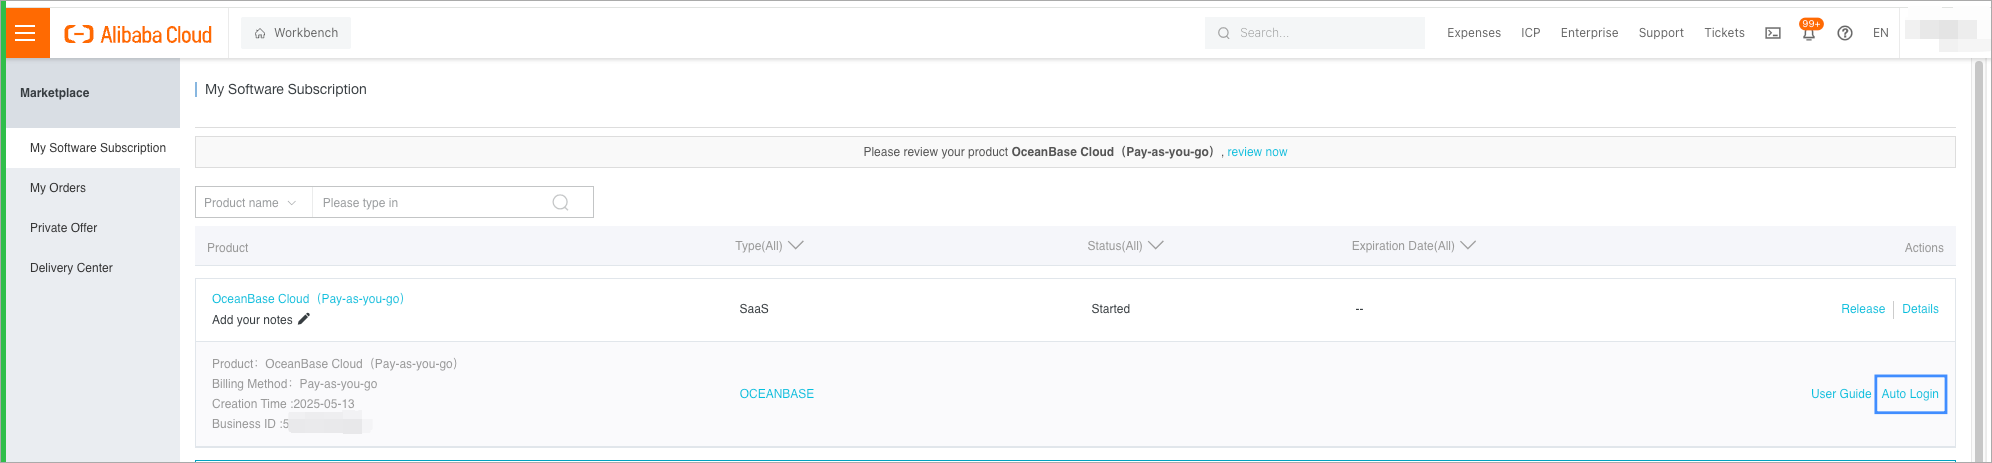
In the pop-up window, click Confirm, and you will be directed to the OceanBase Cloud console.
On the login page of OceanBase Cloud console, click Sign Up to create an OceanBase Cloud account if you are new to OceanBase Cloud, and then log in to the OceanBase Cloud console with this account.
Note
If you already have an OceanBase Cloud account and it has not been used to subscribe to OceanBase Cloud services in Alibaba Cloud Marketplace, you can log in with this account instead of signing up for a new account.
Step 2: Create your OceanBase Cloud instance
(Optional) After logging in to the OceanBase Cloud console, in the pop-up dialog Link OceanBase Cloud Organization to Your Alibaba Cloud Billing Account, check the checkbox at the bottom and then click OK to link your Alibaba Cloud account to your OceanBase Cloud account.
Note
This pop-up will only appear when you access the OceanBase Cloud console for the first time. After the linkage, you can use auto-login (as described in Step 1 above) in Alibaba Cloud Marketplace to directly log in to OceanBase Cloud next time you access the console.
Navigate to the Instances page of OceanBase Cloud, click Create Instance displayed on the page.
On the Create Instance page, choose Dedicated (Transactional) under Instance Type.
Choose the deployment region.
Choose your instance specifications.
ConfigurationDescriptionVersion The OceanBase database version. Deployment Mode - Single-IDC Deployment: All nodes are located within the same zone. This deployment supports both two-node and three-node configurations within a single IDC. If you require this setup, please contact OceanBase technical support.
- Dual-IDC Deployment: Two nodes are deployed across two zones, with a third node deployed in a different zone solely for log synchronization. This node does not provide read/write services. Dual-IDC deployment offers the same availability as multi-IDC deployment but with significantly improved cost efficiency. The dual-IDC deployment option is supported in versions 4.1.0.0 and later.
- Multi-IDC Deployment: Primary and standby nodes are located in different zones, enabling disaster recovery across zones. This deployment comes at no additional cost and by default, all three zones are selected.
Zone - Single-IDC Deployment: choose 1 zone.
- Dual-IDC Deployment: choose 2 zones.
- Multi-IDC Deployment: choose 3 zones.
Compute/Storage Different compute specifications have different storage capacity, which you can select based on your business needs. Choose the number of instances you want to create under the Quantity section.
In the Summary section on the right, confirm the configurations and then proceed to payment to complete the purchase.
After the purchase is completed, you can navigate back to the Instances page to view the creation progress.