


MCP (Model Context Protocol) is an open-source protocol released by Anthropic in November 2024. It enables large language models to interact with external tools or data sources. With MCP, users do not need to manually copy and execute the output of large models. Instead, the large models can directly instruct tools to perform corresponding actions.
OceanBase MCP Server provides the capability for large models to interact with OceanBase Database through the MCP protocol and execute SQL statements. With an appropriate client, you can quickly build a project prototype. It is open-sourced on GitHub.
Claude Code is an AI programming tool launched by Anthropic. It is an intelligent coding assistant that runs in the terminal and helps developers quickly convert ideas into high-quality code.
This topic demonstrates how to use OceanBase MCP Server and Claude Code to build a backend application.
Prerequisites
A transactional instance is available in your environment. For instructions on how to create the instance, see Create an transactional instance.
You have created a MySQL-compatible tenant in the instance. For instructions on how to create the tenant, see Create a MySQL-compatible tenant.
You have a MySQL database and account available under the tenant, and you have granted read and write permissions to the database account. For more information, see Create an account and Create a database (MySQL only).
You are a project admin or instance admin and have the permissions required to read and write data in the instance. If not, contact your organization admin to grant the required permissions.
You have installed Python 3.11 or later and pip. If the Python version on your server is low, you can use Miniconda to create a Python 3.11 or later environment. For more information, see Miniconda installation guide.
You have installed Git based on the operating system.
Windows: https://git-scm.com/downloads/win.
macOS: https://git-scm.com/download/mac.
Linux: https://git-scm.com/downloads/linux.
You have installed the Python package manager uv.
For macOS and Linux, you can use the standalone script to install uv:
curl -LsSf https://astral.sh/uv/install.sh | shFor Windows, use the following script:
irm https://astral.sh/uv/install.ps1 | iexAlternatively, you can install uv using pip, which is platform-agnostic:
pip install uv
After the installation is complete, run the
uv --versioncommand to verify whether the installation is successful:pip install uv uv --versionYou have installed Augment Code:
Open VS Code (if not installed, refer to the official documentation for installation).
Click the Extensions icon in the sidebar.
Search for "Claude Code" and click Install.
Configure the environment variables for Claude Code.
cat >> ~/.zshrc << 'EOF'
export ANTHROPIC_BASE_URL=*****
export ANTHROPIC_API_KEY=*******
export ANTHROPIC_MODEL=*******
EOF
source ~/.zshrc
Test the connection.
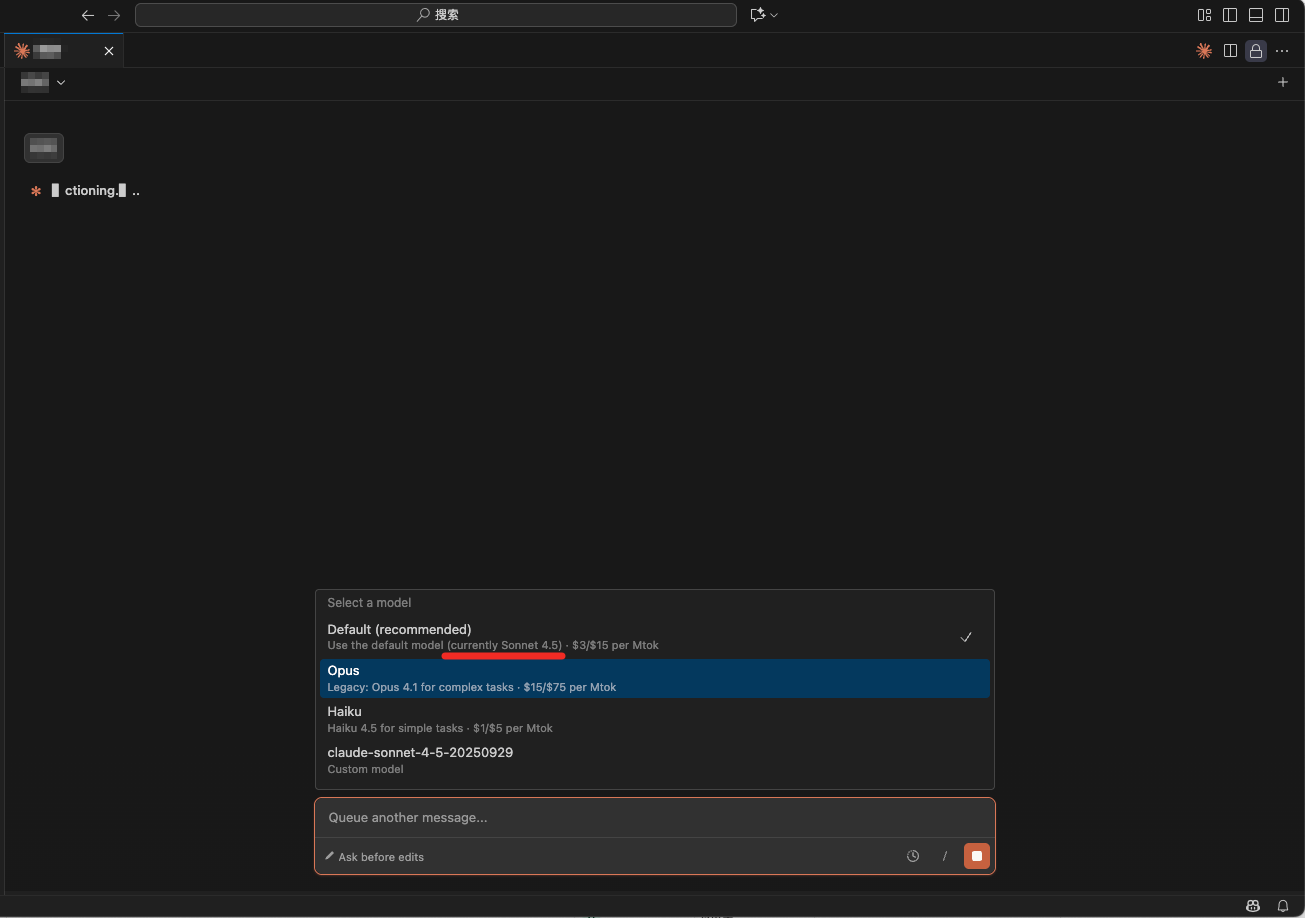
Select an Anthropic model.
Step 1: Obtain the database connection information
Log in to the OceanBase Cloud console.
In the instance list page, expand the the information of the target instance.
Select Connect > Get Connection String under the target tenant.
In the pop-up window, select Public Network as the connection method.
Follow the prompts in the pop-up window to obtain the public endpoint and the connection string.
Step 2: Configure OceanBase MCP Server
Clone the OceanBase MCP Server repository
Run the following command to download the source code to your local machine:
git clone https://github.com/oceanbase/awesome-oceanbase-mcp.git
Navigate to the source code directory:
cd awesome-oceanbase-mcp
Install dependencies
In the oceanbase_mcp_server directory, run the following command to create a virtual environment and install the dependencies:
uv venv
source .venv/bin/activate
uv pip install .
Configure OceanBase MCP Server
Open the VS Code terminal and run the
claude mcp add-jsoncommand.claude mcp add-json oceanbase '{ "command": "uv", "args": [ "--directory", "/path/to/your/oceanbase_mcp_server/src/oceanbase_mcp_server", "run", "oceanbase_mcp_server" ], "env": { "OB_HOST": "***", "OB_PORT": "***", "OB_USER": "***", "OB_PASSWORD": "***", "OB_DATABASE": "***" } }'Replace
/path/to/your/oceanbase_mcp_serverwith the absolute path of theoceanbase_mcp_serverfolder. ReplaceOB_HOST,OB_PORT,OB_USER,OB_PASSWORD, andOB_DATABASEwith the corresponding information of your database.Verify whether you can connect to the database.
Enter the prompt "How many tables are in the test database?" Claude Code will display the SQL statement to be executed and output the query result.
If Claude Code displays the number of tables in the test database, it means that you can connect to the OceanBase database.
Step 3: Use FastAPI to create a project in the RESTful API style
FastAPI is a Python Web framework that can be used to quickly build RESTful APIs.
Create a table.
Enter the prompt "Create a customer table with the ID as the primary key and the name, age, telephone, and location fields" in the command line.
Insert test data.
Enter the prompt "Insert 10 test data records" in the command line.
Create a FastAPI project.
Enter the prompt "Create a FastAPI project and generate a RESTful API based on the customer table" in the command line. Multiple files are automatically generated. If there are any issues, you can modify the files as needed.
Run the following command to install the dependencies.
cd customer_api
pip install -r requirements.txt
Start the FastAPI project.
python3 main.pyView the data in the table.
Run the following command in the command line:
curl http://127.0.0.1:8000/customers. You can also use other request tools to view the data in the table:curl http://127.0.0.1:8000/customers [{"name":"Zhang San","age":28,"telephone":"13800138001","location":"Chaoyang District, Beijing","ID":1},{"name":"Li Si","age":32,"telephone":"13900139002","location":"Pudong New Area, Shanghai","ID":2},{"name":"Wang Wu","age":25,"telephone":"13700137003","location":"Tianhe District, Guangzhou","ID":3},{"name":"Zhao Liu","age":45,"telephone":"13600136004","location":"Nanshan District, Shenzhen","ID":4},{"name":"Chen Qi","age":38,"telephone":"13500135005","location":"Xihu District, Hangzhou","ID":5},{"name":"Liu Ba","age":29,"telephone":"13400134006","location":"Wuhou District, Chengdu","ID":6},{"name":"Zhou Jiu","age":35,"telephone":"13300133007","location":"Jingning District, Nanjing","ID":7},{"name":"Wu Shi","age":41,"telephone":"13200132008","location":"Hongshan District, Wuhan","ID":8},{"name":"Zheng Shiyi","age":27,"telephone":"13100131009","location":"Yubei District, Chongqing","ID":9},{"name":"Ma Shier","age":33,"telephone":"13000130010","location":"Yanta District, Xi'an","ID":10}]The code for adding, deleting, modifying, and querying data has been generated.
from sqlalchemy.orm import Session
from . import models, schemas
from typing import List, Optional

def get_customer(db: Session, customer_id: int):
 return db.query(models.Customer).filter(models.Customer.ID == customer_id).first()

def get_customers(db: Session, skip: int = 0, limit: int = 100):
 return db.query(models.Customer).offset(skip).limit(limit).all()

def create_customer(db: Session, customer: schemas.CustomerCreate):
 db_customer = models.Customer(**customer.dict())
 db.add(db_customer)
 db.commit()
 db.refresh(db_customer)
 return db_customer

def update_customer(db: Session, customer_id: int, customer: schemas.CustomerUpdate):
 db_customer = db.query(models.Customer).filter(models.Customer.ID == customer_id).first()
 if db_customer:
     update_data = customer.dict(exclude_unset=True)
     for key, value in update_data.items():
         setattr(db_customer, key, value)
     db.commit()
     db.refresh(db_customer)
 return db_customer

def delete_customer(db: Session, customer_id: int):
 db_customer = db.query(models.Customer).filter(models.Customer.ID == customer_id).first()
 if db_customer:
     db.delete(db_customer)
     db.commit()
     return True
 return False

def search_customers(db: Session, name: Optional[str] = None, location: Optional[str] = None):
 query = db.query(models.Customer)
 if name:
     query = query.filter(models.Customer.name.contains(name))
 if location:
     query = query.filter(models.Customer.location.contains(location))
 return query.all()