


After logging into the SQL Console, you can perform SQL queries, development tasks, and database object management. This topic aims to guide you through the process of logging into the SQL Console.
Procedure
Log in to the OceanBase Cloud console, and access the SQL Console using one of the following ways:
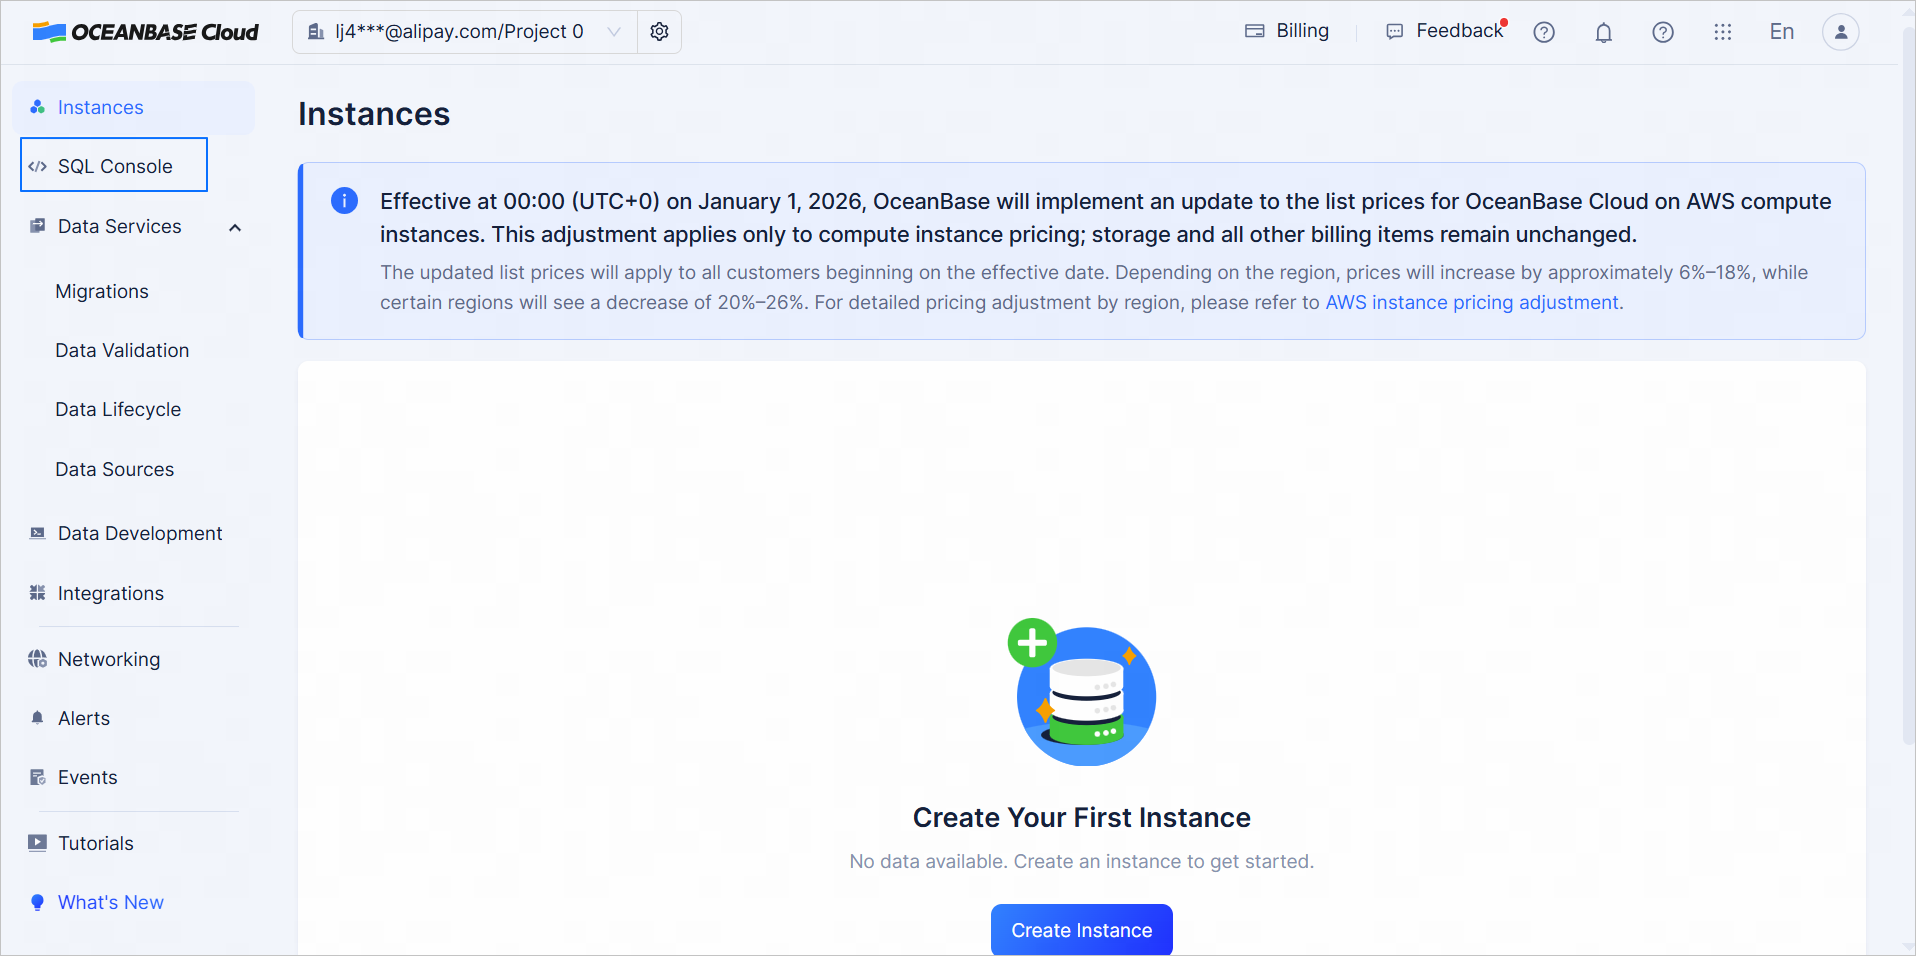
- Method 1: Click SQL Console in the left-side navigation pane on the homepage.
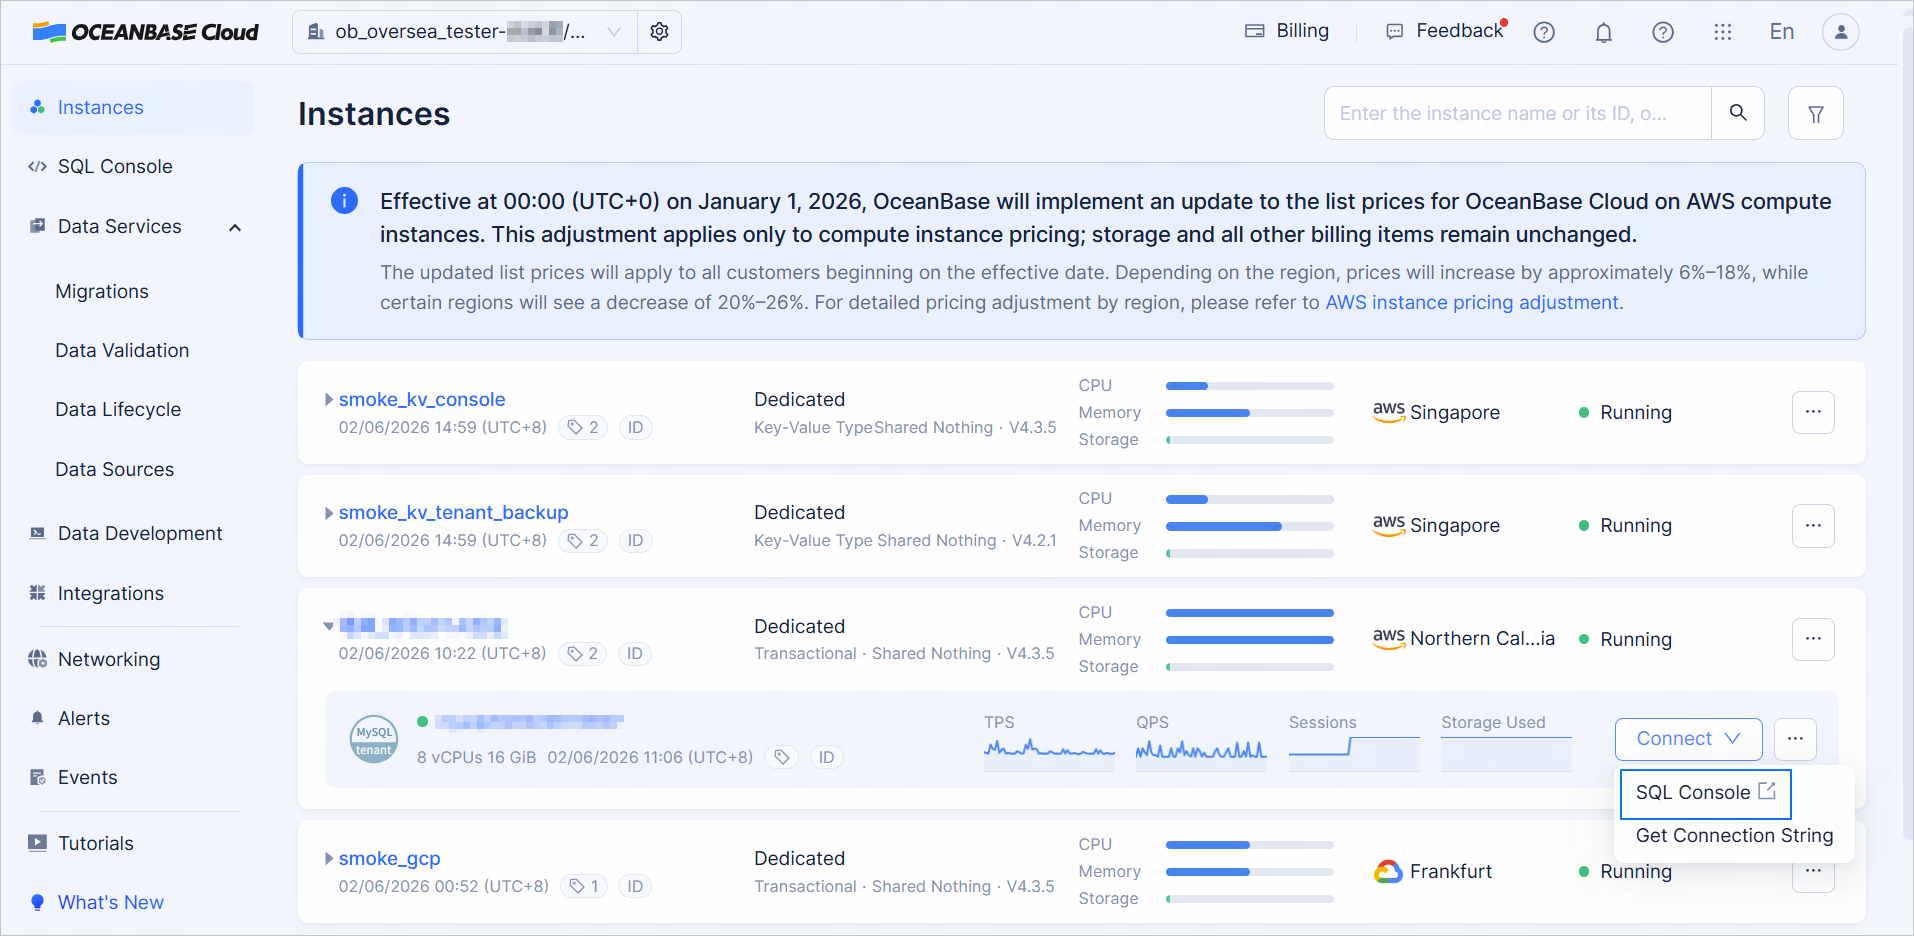
- Method 2: On the instance list page, expand the target instance and select Connect > SQL Console under the target tenant.
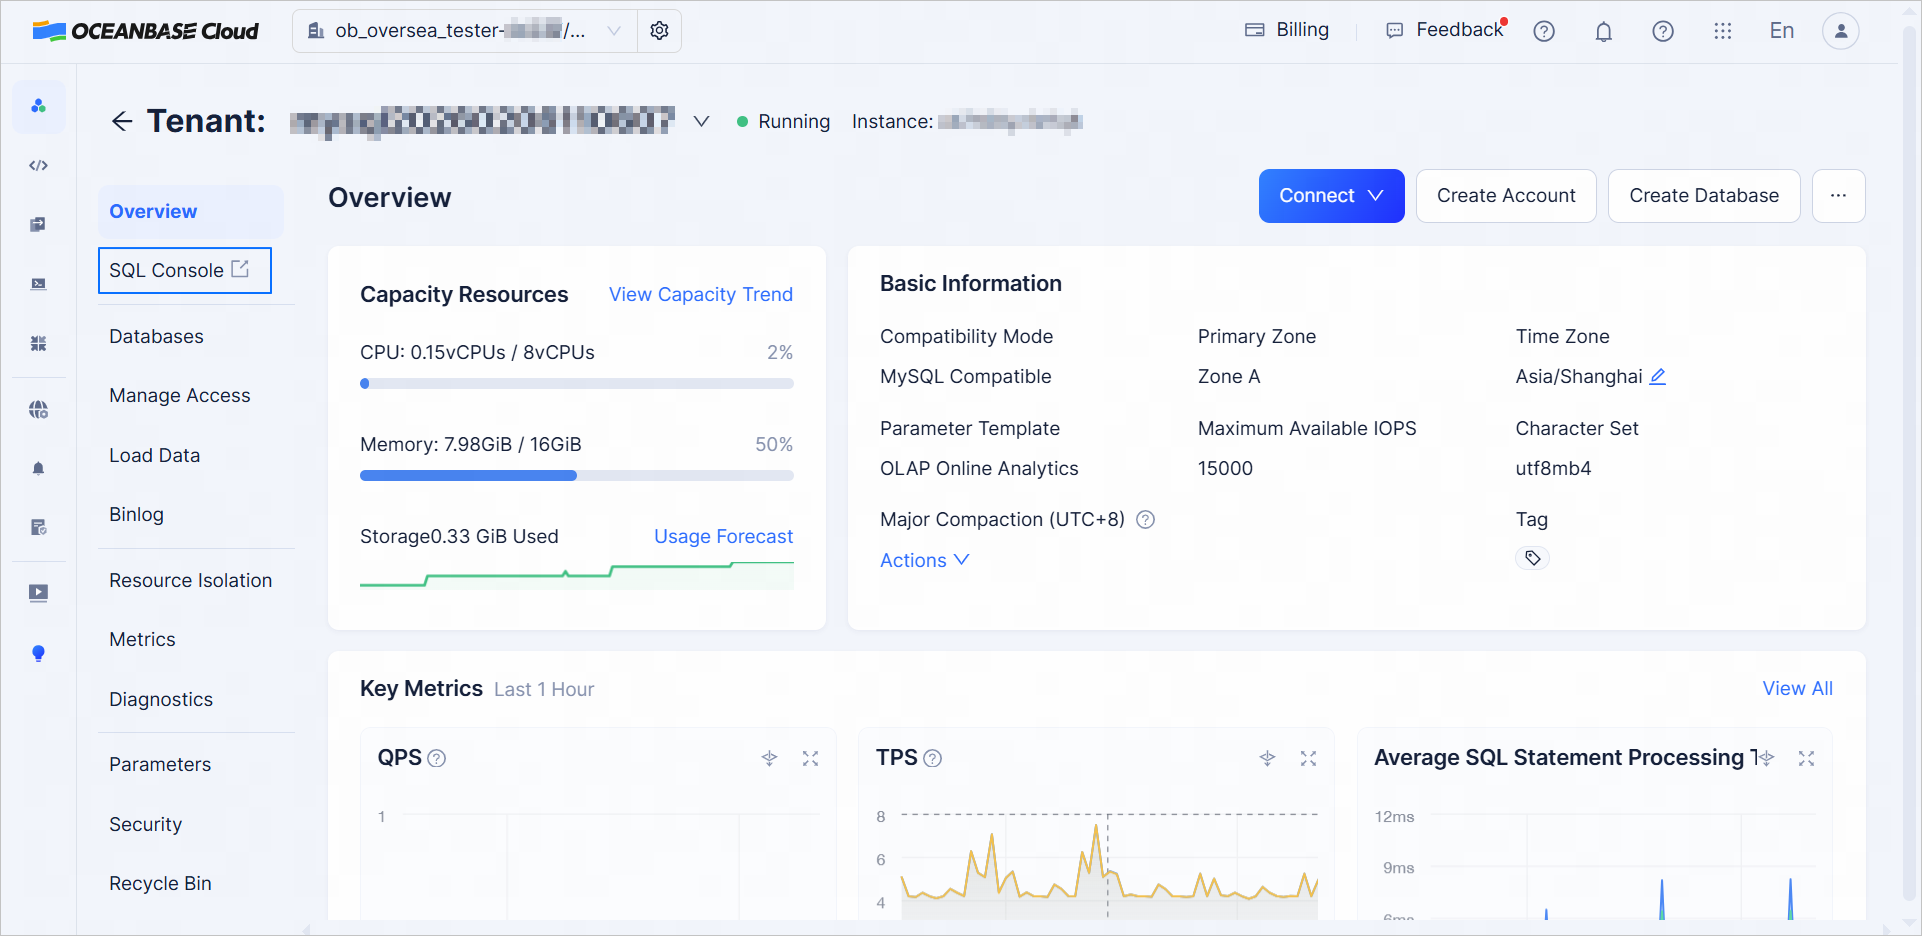
- Method 3: On the instance list page, click the name of the target tenant under the target instance to navigate to the Overview page of the tenant. Click SQL Console in the left-side navigation pane.
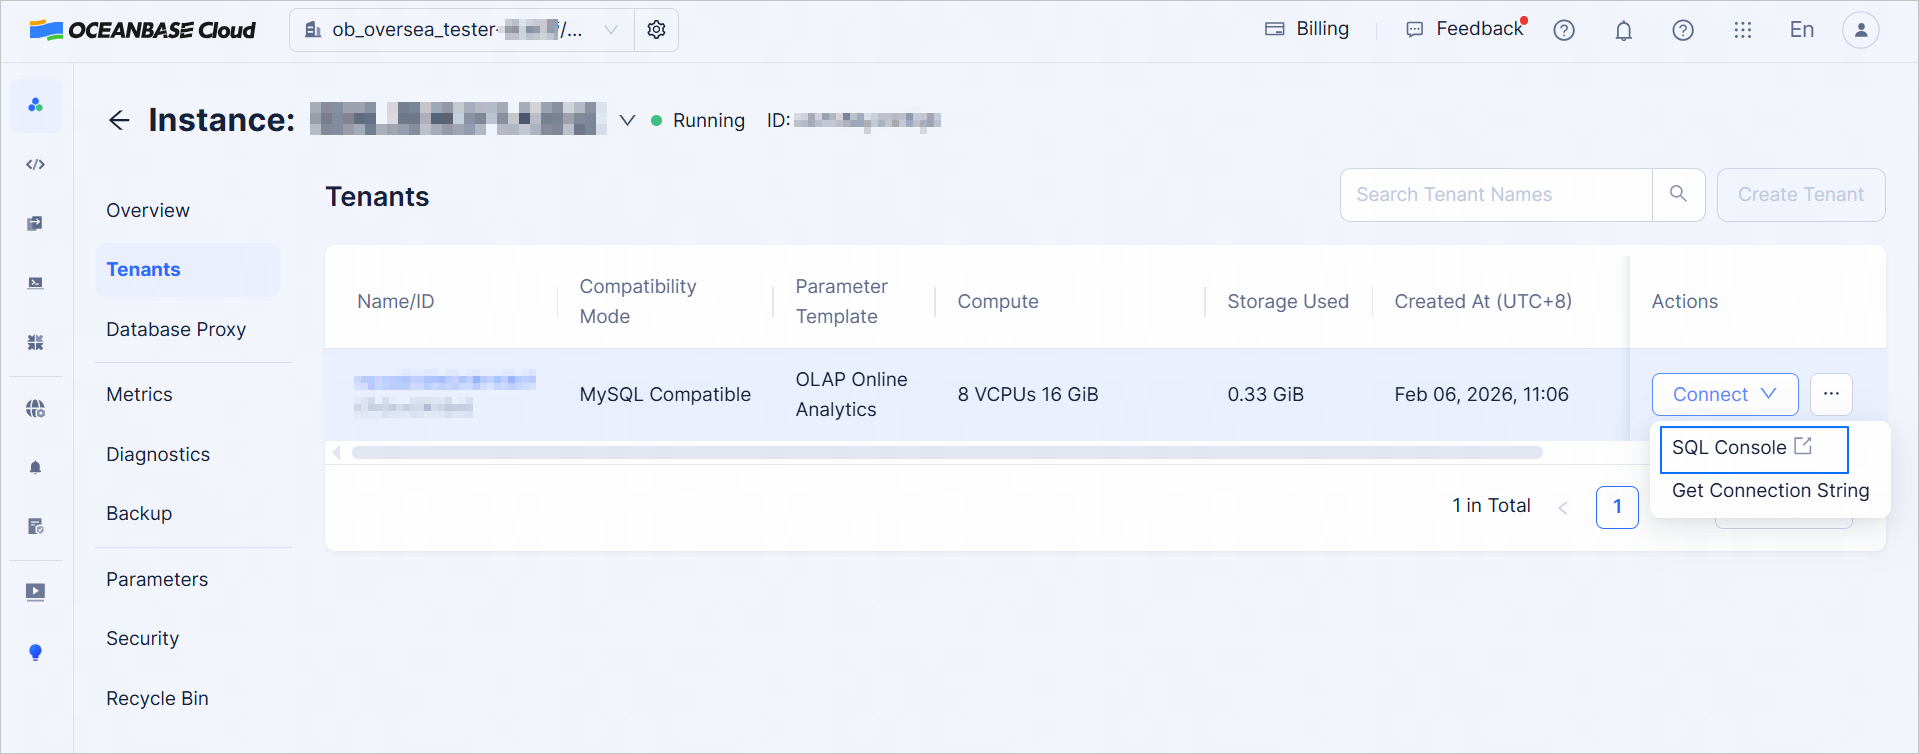
- Method 4: On the instance list page, click the name of the target instance to navigate to the Overview page of the instance. Click Tenants in the left-side navigation pane and select Connect > SQL Console under the target tenant.
- Method 5: Select Developer Center from the top right corner of the homepage.

Click + Create Account to create a database account for the login if you have not had an account already.

In the Create Account dialog, configure the database account information and click Create to finish creating the account.
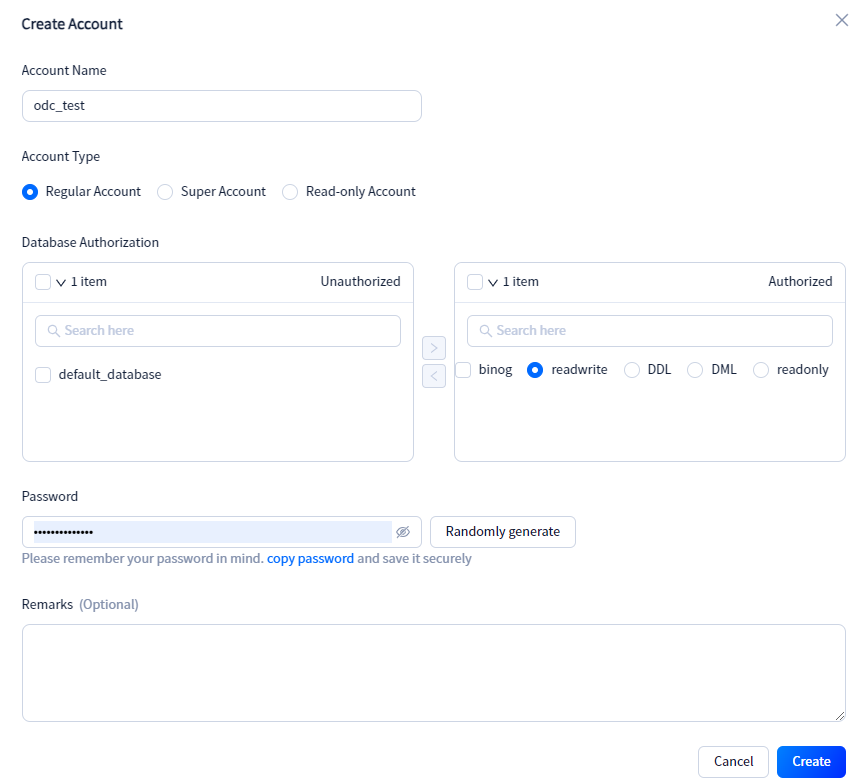
- Regular Account: Has permissions for all databases under the current tenant.
- Super Account: Can specify certain databases and grant permissions for read/write/DDL/DML/read-only access.
- Read-only Account: Allows viewing all databases under the current tenant.
On the SQL Console login page, enter the database account and password.
Click Connect to enter the SQL Console.
After the login is successful, you can switch instances and accounts in the upper-left corner.