


Before you create a data migration task, you must configure a data source. You must create OceanBase Database as the source or the target before you start a data migration task. This topic describes how to create a standalone OceanBase data source in OceanBase Migration Service (OMS).
Prerequisites
You have obtained the service address and port number of the database.
A database user has been created for data migration.
We recommend that you create a dedicated database user for the data migration task. This user must have the necessary privileges on the data. For more information, see Create a database user.
Procedure
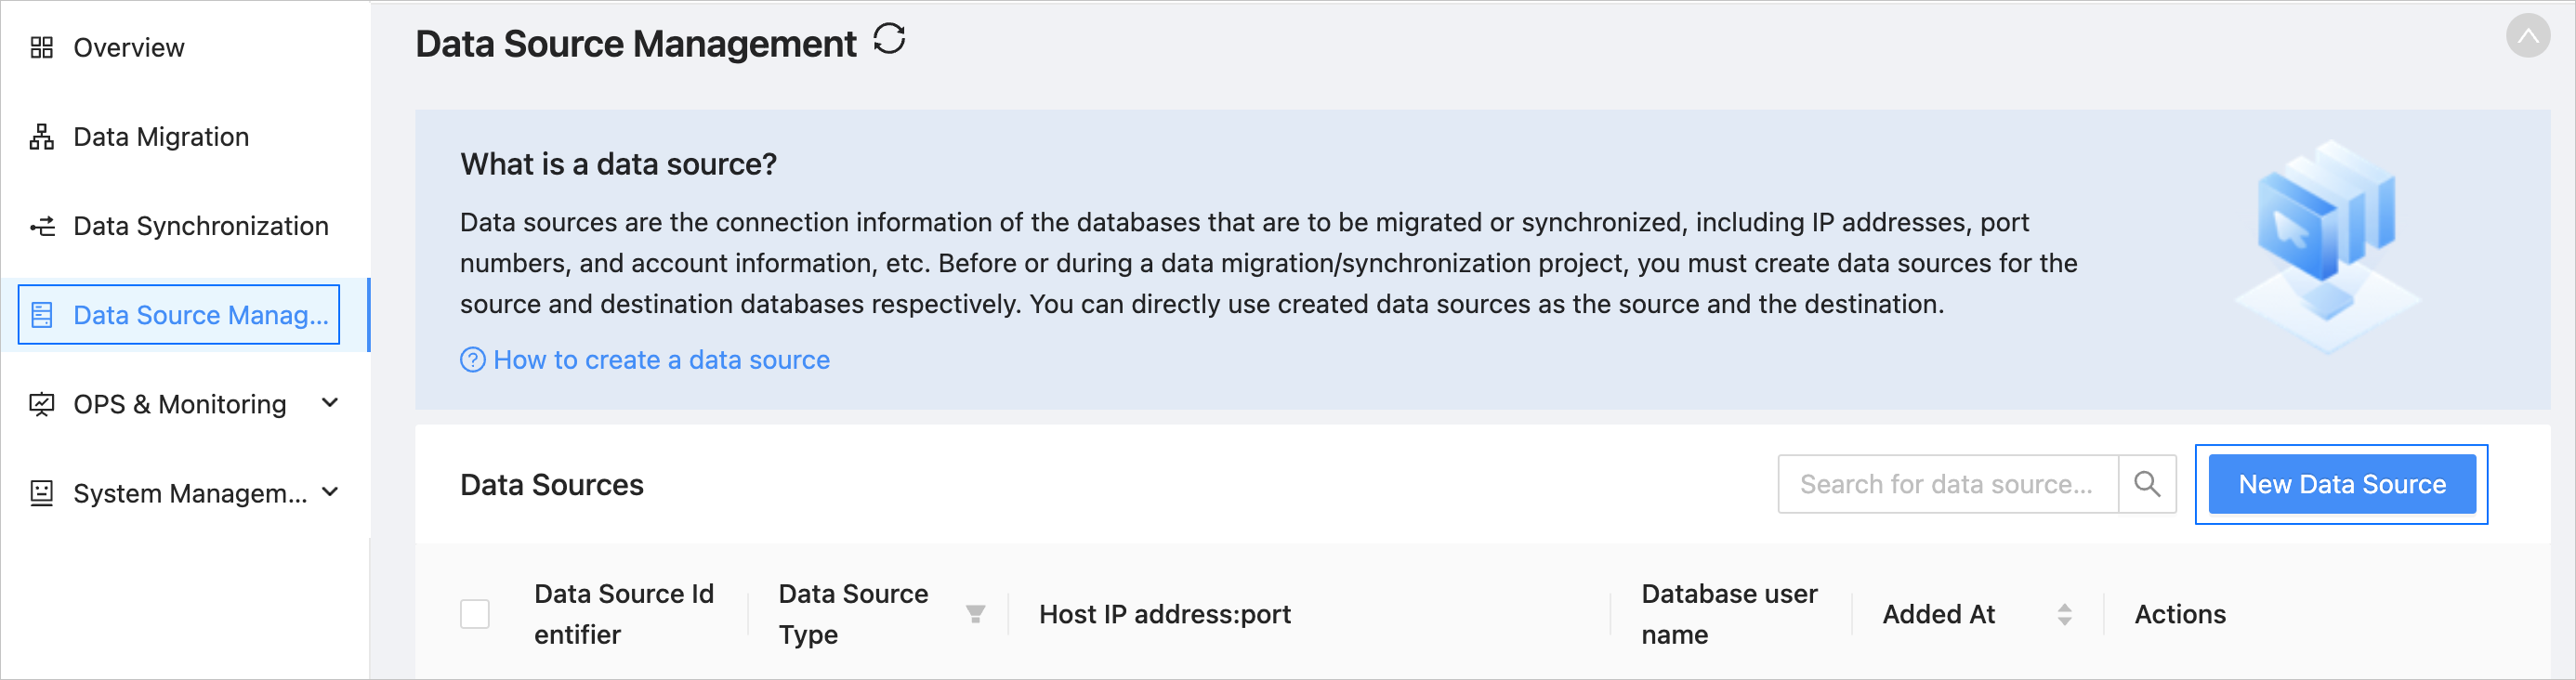
Log in to the OMS console.
In the left-side navigation pane, click Data Source Management.
On the Data Source Management page, click New Data Source in the upper-right corner.
In the New Data Source dialog box, set Data Source Type to OceanBase.
If you want to add a standalone data source, configure the related parameters.
ParameterDescriptionData Source Identifier We recommend that you use a name that contains Chinese characters, numbers, and letters. The name cannot contain spaces and must be 32 characters or less in length.
Note:
The data source identifier must be unique in OMS.Region The region to which the data source belongs.
Note:- This parameter is displayed only in multi-region scenarios.
- Make sure that the mapping between the data source and the region is consistent, otherwise the migration or synchronization performance may be poor.
Tenant Type The tenant type of OceanBase Database. Currently, the database supports both MySQL-compatible and Oracle-compatible tenants. Input Method The connection method. Valid values: Manual Input and Command-line Connection String. - Manual Input : Enter the IP address and port number of the OceanBase database.
- Command-line Connection String : Enter the command-line connection string.
Command-Line Connection String This parameter is displayed only when you set Input Mode to Command-line Connection String. You can enter an one-segment or three-segment connection string. After you enter a connection string, the system automatically populates the Service Address and Port fields. Here are some examples of command-line connection strings: - One-segment connection string
mysql -ht5zxxxx.oceanbase.aliyuncs.com -utest -P3306 -c -A -p - Three-segment connection string
obclient -hxxx.xxx.xxx.xxx -P2891 -uuser@tenant#cluster -p
Host IP The IP address of the host where the database is located. Port The port number of the host IP address. Tenant Name The name of the OceanBase database tenant. Database Username The name of the user in the OceanBase database for data migration or synchronization. We recommend that you create a dedicated database user for each data migration or synchronization task. Database Password The password of the database user. Remarks (Optional) The remarks for the data source. (Optional) In the New Data Source dialog box, click Expand next to Advanced Options to expand the section, and configure the parameters as needed.
 ParameterDescription
DRC User Username (Optional) The DRC user is used to read incremental logs and database object schemas from the OceanBase database. You need to create this user in the sys tenant of the business cluster. Password (Optional) The password of the DRC user. __OCEANBASE_INNER_DRC_USER Password (Optional) The __OCEANBASE_INNER_DRC_USER is used to migrate data from tables without unique keys in the OceanBase database. Note: You must create this user in the tenant where the current data source is located. When you create a data migration or synchronization task with a physical OceanBase data source as the source:
For schema migration or synchronization and incremental synchronization, you must specify the username and password.
For data migration without unique keys, you must specify the password of the
__OCEANBASE_INNER_DRC_USER.
When you create a data migration task with a physical OceanBase data source as the target, you must specify the username and password for reverse incremental migration.
Click Test Connection to verify the network connection between OMS and the data source, as well as the validity of the username and password.
After the test connection succeeds, click OK.