


Before you use the data migration and synchronization features of OceanBase Migration Service (OMS), create a dedicated database user for the data migration or synchronization task in the source and destination databases, and grant the user the corresponding privileges.
OceanBase data source
Create an OceanBase Database user
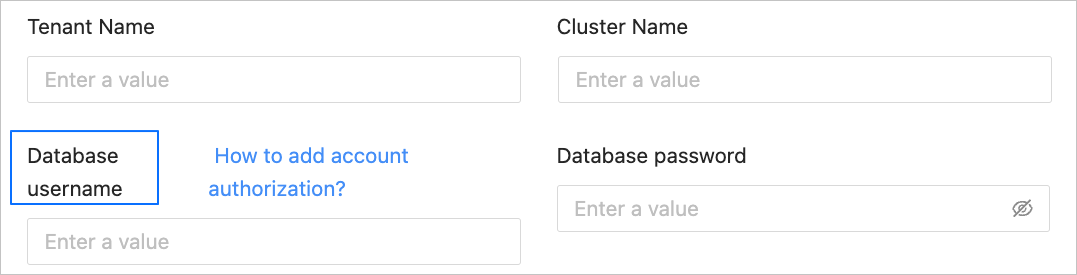
The OceanBase Database user created in this topic is used to fill in the Database username field when you create an OceanBase data source (including physical data sources, logical data sources, and public cloud data sources). For example, you can fill in OMSTEST as the database username.
Log in to the OceanBase Database as a system administrator.
Create a user in the source business tenant for data migration or synchronization.
OceanBase Database in MySQL compatible mode
CREATE USER '<user_name>' IDENTIFIED BY '<password>';OceanBase Database in Oracle compatible mode
CREATE USER '<user_name>' IDENTIFIED BY <password>;
Grant privileges to the created database user by using the
GRANTstatement. For more information, see User privileges.
Create a DRC user
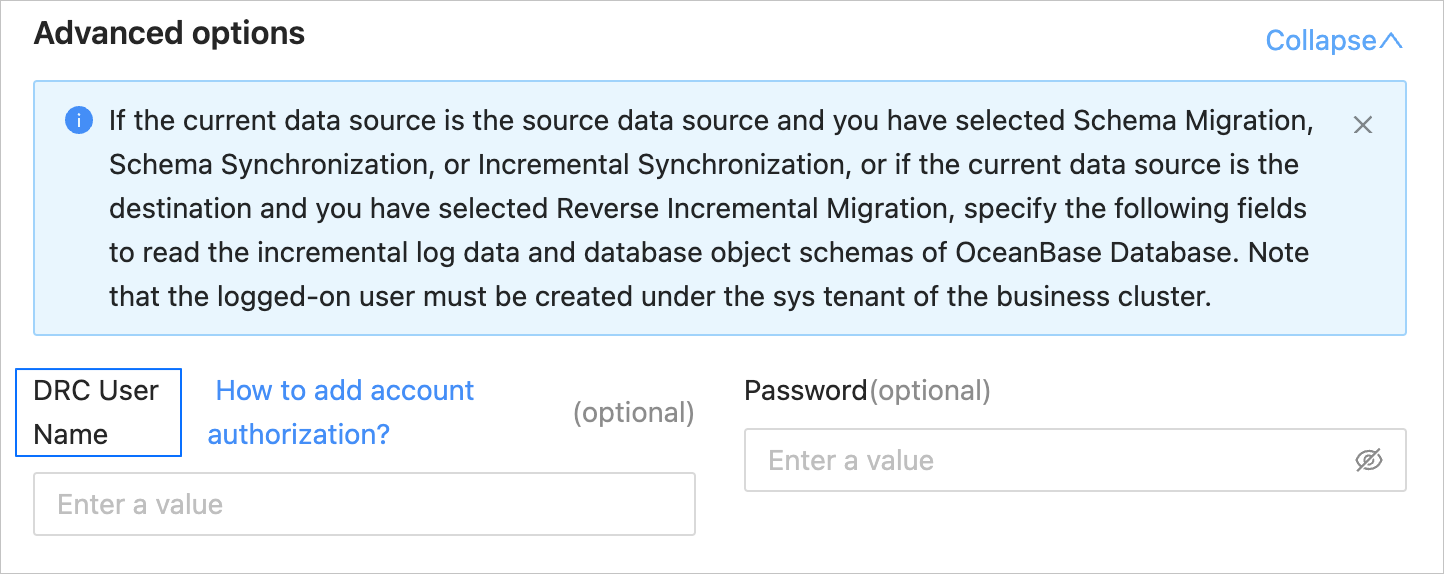
If you need to read incremental log data and database object structure information from the OceanBase Database, create a DRC user in the sys tenant at the source end.
The DRC user created in this topic is used to fill in the DRC User Username field in the Advanced Options section when you create an OceanBase data source (including physical data sources and logical data sources). For example, you can fill in user01 as the DRC user username.
CREATE USER <drc_user> IDENTIFIED BY '<drc_password>';
GRANT SELECT ON *.* TO <drc_user>;
Create a sys tenant user
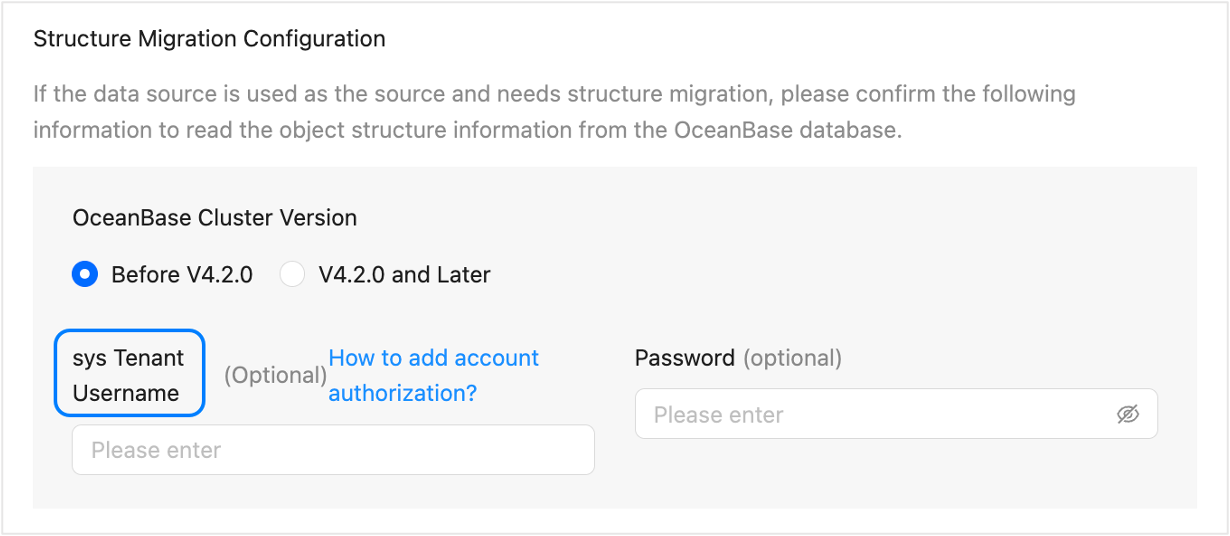
The sys tenant user created in this topic is used to fill in the sys Tenant Username field in the Advanced Options section when you create an OceanBase public cloud data source and the OceanBase cluster version is earlier than V4.2.0. For example, you can fill in user02 as the sys tenant username.
CREATE USER <drc_user> IDENTIFIED BY '<drc_password>';
GRANT SELECT ON *.* TO <drc_user>;
Create the __oceanbase_inner_drc_user user
If you need to migrate a table without a primary key, create a user and grant privileges to it before you execute a data migration task.
If the source database is in MySQL compatible mode, create the
__oceanbase_inner_drc_useruser in the source business tenant.The
__oceanbase_inner_drc_useruser created in this way is used to fill in the __oceanbase_inner_drc_user password when you create an OceanBase data source of the MySQL type.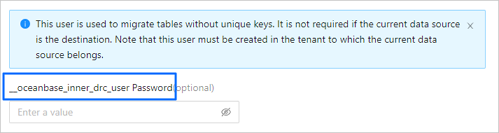
Create a user.
CREATE USER __oceanbase_inner_drc_user IDENTIFIED BY '<password>';Grant privileges.
GRANT SELECT ON *.* TO __oceanbase_inner_drc_user;
If the source database is in Oracle compatible mode, create the
__OCEANBASE_INNER_DRC_USERuser in the source business tenant.The
__OCEANBASE_INNER_DRC_USERuser created in this way is used to fill in the __OCEANBASE_INNER_DRC_USER password when you create an OceanBase data source of the Oracle type.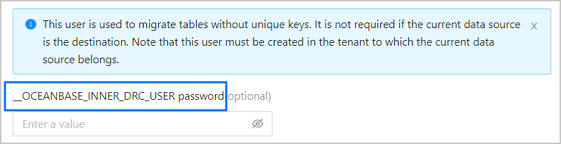
Create a user.
CREATE USER '__OCEANBASE_INNER_DRC_USER' IDENTIFIED BY <your_password>;Grant privileges.
OceanBase Database versionGrant statementEarlier than V2.2.77 GRANT CREATE SESSION TO '__OCEANBASE_INNER_DRC_USER';
GRANT SELECT ON *.* TO '__OCEANBASE_INNER_DRC_USER';V2.2.77 and later versions GRANT CREATE SESSION TO '__OCEANBASE_INNER_DRC_USER';GRANT SELECT ANY DICTIONARY TO '__OCEANBASE_INNER_DRC_USER';
You can use one of the following two methods to grant theSELECTpermission on the migrated tables:- Grant the system privilege
GRANT SELECT ANY TABLE TO '__OCEANBASE_INNER_DRC_USER'; - Grant the object privilege (grant the privilege only to specific tables)
GRANT SELECT ON <schema>.<table> TO '__OCEANBASE_INNER_DRC_USER';
- Grant the system privilege
Oracle data source
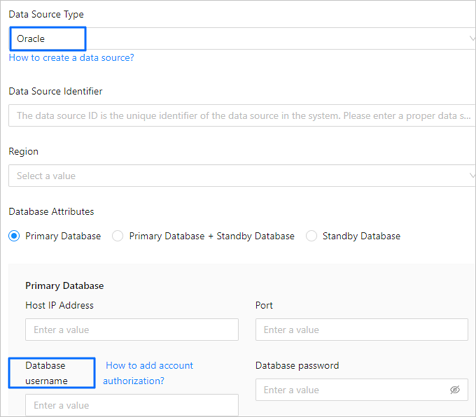
Create an Oracle database user to fill in the Database Username field when you create an Oracle data source.
Log in to the Oracle database.
Create a user for data migration or synchronization.
CREATE USER <user_name> IDENTIFIED BY "<password>";Grant privileges to the created database user by using the
GRANTstatement. For more information, see User privileges.
MySQL data source
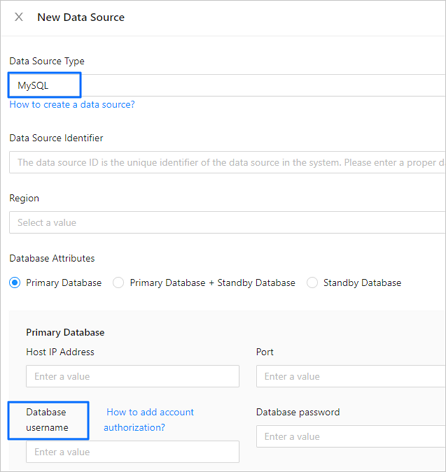
The MySQL database user created here is used for the Database username field when you create a MySQL data source.
Log in to the MySQL database.
Use the
CREATE USERstatement to create a new user.CREATE USER '<user_name>'@'<host_name>' IDENTIFIED BY '<user_password>';ParameterDescriptionuser_name The name of the user to be created. host_name The host that allows the user to log in. If the user can log in from any host, use a percent sign (%). user_password The password of the user to be created. For example, create a user named
testwho can log in from any host with the passwordpassword.CREATE USER 'test'@'%' IDENTIFIED BY 'password';Use the
GRANTstatement to grant privileges to the created database user. For more information, see User privileges.
PostgreSQL data source
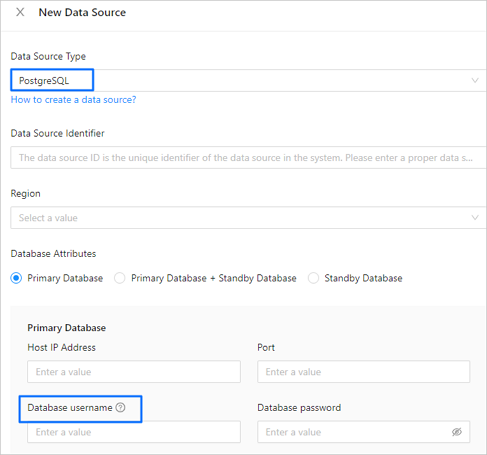
The PostgreSQL database user created here is used for the Database username field when you create a PostgreSQL data source.
Log in to the PostgreSQL database.
Create a user for data migration or data synchronization.
CREATE USER <user_name> ENCRYPTED PASSWORD '<password>';Grant privileges to the created database user by using the
GRANTstatement. For more information, see User privileges.
DB2 LUW data source
The DB2 LUW database user created here is used to fill in the Database Username field when you create a DB2 LUW data source.
In DB2 LUW (Linux/UNIX/Windows), the database system does not support directly creating a database user by using an SQL statement. If you need to create a DB2 LUW database user, you must first create a system user or group and then grant privileges to the user.
Create a user group in the operating system.
groupadd <user_group_name>Create a system user and specify the user group to which the user belongs.
useradd -g <user_group_name> <user_name>Set a login password for the new user.
passwd <user_name>Grant privileges to the created database user. For more information, see User privileges.
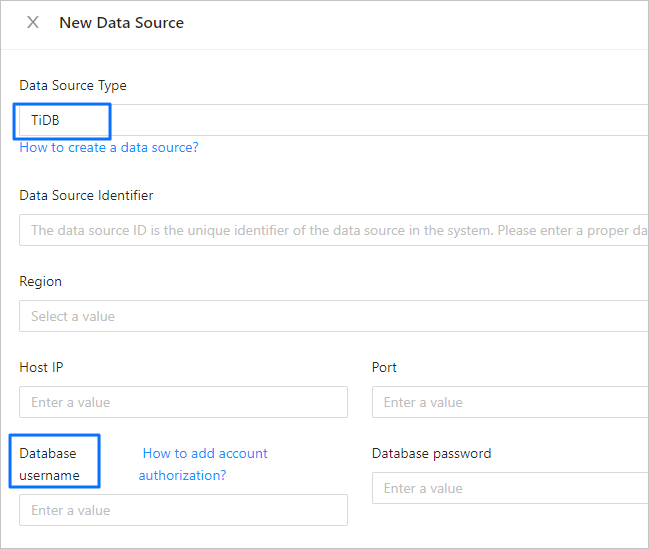
TiDB data source
The TiDB database user created here is used to fill in the Database Username when creating a TiDB data source.
Log in to the TiDB database.
Create a user in the TiDB database for data migration or synchronization.
CREATE USER '<user_name>'@'<host_name>' IDENTIFIED BY '<password>';ParameterDescriptionuser_name The name of the user to be created. host_name The host that allows the account to log in. If the account is allowed to log in from any host, use the percentage sign (%). password The password of the user to be created. Use the
GRANTstatement to grant privileges to the created database user. For more information, see User privileges.
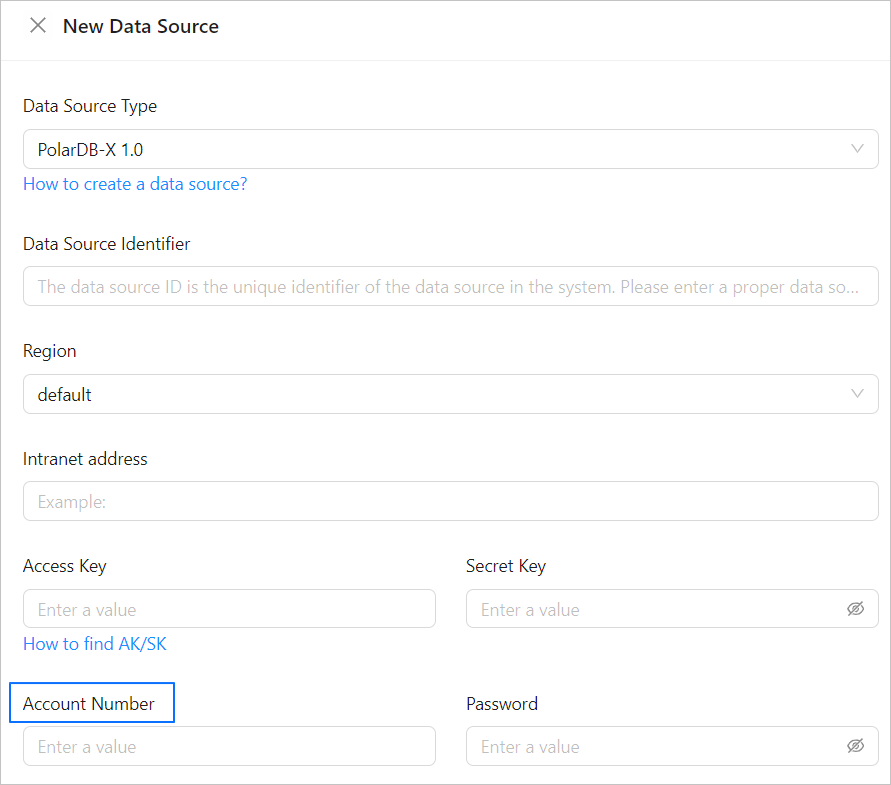
Data source of PolarDB-X 1.0
The database user created here is used for the Account field when you create a data source of PolarDB-X 1.0.
Log in to the Apsara Stack console.
In the top navigation bar, click Products > Database > PolarDB-X 1.0.
In the Instances section of the target organization, click the name of the PolarDB-X 1.0 instance to go to the instance details page.
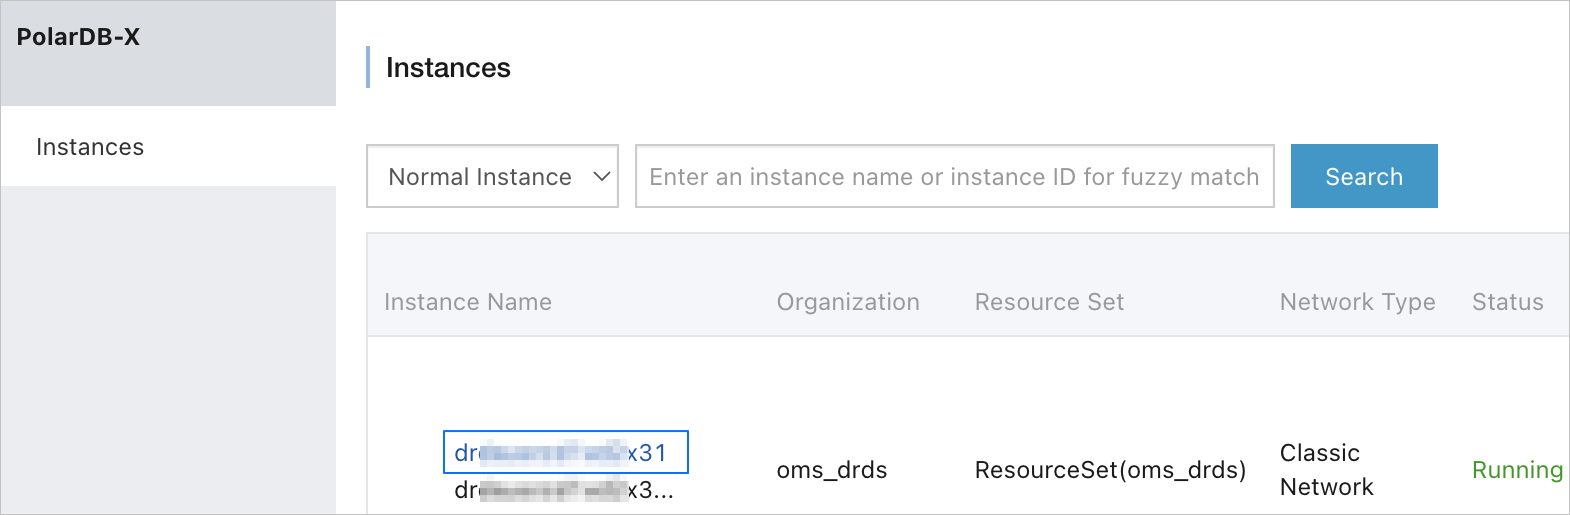
In the left-side navigation pane, click Configuration & Management > Account Management.
Note
After a database is created, an advanced account with the same password as the database is automatically created. You can directly use this account or create a regular account as needed.
On the Account Management page, click Create Account.

In the Create Account dialog box, configure the parameters.
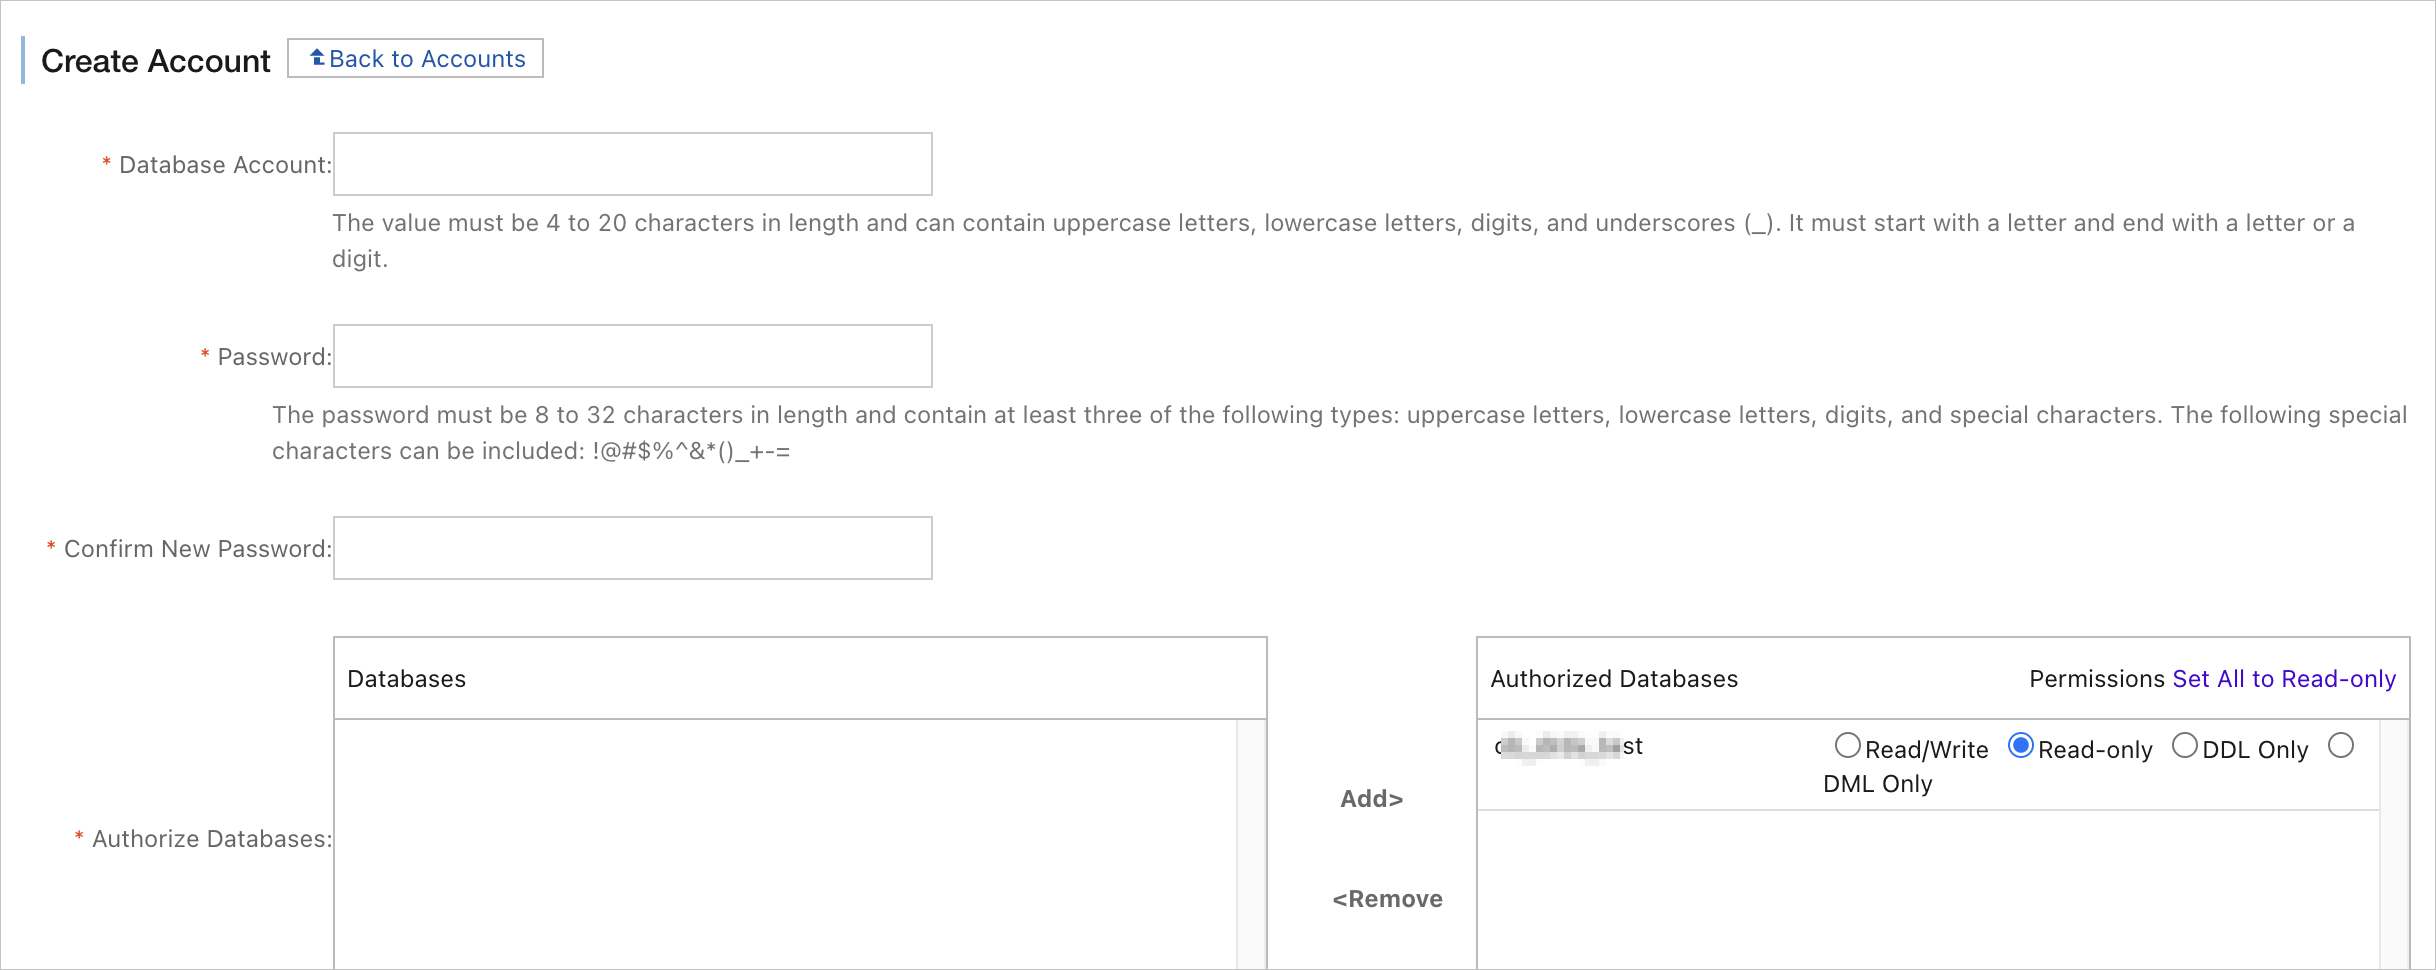 ParameterDescription
Database Account The database account must be 4 to 20 characters in length, and can contain uppercase letters, lowercase letters, digits, and underscores. The account must start with a letter and end with a letter or a digit. New Password We recommend that you use a password that contains three types of characters, such as uppercase letters, lowercase letters, digits, and special characters (!@#$%^&*()_+-=). The password must be 8 to 32 characters in length. Confirm New Password Enter the new password again for verification. Authorize Database In the Databases section, select the name of the database to be authorized, and click Authorize to add the database to the Authorized Databases section. Then, set the permissions. Note
The minimum required permissions for a regular account of a PolarDB-X 1.0 instance in each stage of data migration are Read Only.
Click OK.