


This topic describes how whitelists and blacklists work and how to update them.
Applicable versions
OceanBase Migration Service (OMS) 3.2.0 and later
Working principles of whitelists and blacklists
Whitelists and blacklists provide differentiated configuration capabilities, such as database and table filtering, mapping, and extract, transform, and load (ETL). A blacklist or whitelist is in the following structure:
[{
 "name": "db*",
 "map": "mdby",
 "func": "fn",
 "attr": {
  "ddl": "mmm",
  "hey": "hey"
 },
 "sub": [{
  "name": "mb*",
  "map": "tb2222",
  "func": "fn",
  "sub": [{
   "name": "c"
  }]
 }]
}, {
 "name": "db123",
 "map": "mdb5",
 "all": false,
 "attr": {
  "ddl": "zzz",
  "hey": "hey"
 },
 "sub": [{
  "name": "tb12345"
 }]
}]
A blacklist and a whitelist are two JSON arrays with the same semantics. Each element in an array is a JSON object, and each JSON object contains the following attributes:
Attribute |
Description |
|---|---|
| name | The name of the element at this level. The meaning varies by level. Generally, three levels are used: database, table, and column, with the database name at the uppermost level, the table name at the medium level, and the column names at the bottom level. |
| map | The mapped-to name for this level. If this parameter is not specified, the value is the same as that of name of this level. |
| all | Specifies whether all objects at the lower level are required. Default value: true. For the database level, the attribute specifies whether all tables in the database are required. For the table level, the attribute specifies whether all columns in the table are required. |
| func | The matching rule of the name. func currently supports three modes. The exact mode is used by default, in which all characters must be the same. fn is the fnmatch mode of Linux. Objects starting with '.' cannot be matched. reg is the regular matching mode of Java. Objects are preferentially matched in exact mode, and then in fn and reg modes. |
| attr | The attribute of this level, which is a JSON object. For example, the configurations for filtering the DML type are provided by using this attribute. |
| sub | The object of the lower level, which is the same as the definition of this level. The meaning varies by level. The lower level of a database is tables, and the lower level of a table is columns. |
Notice
A match takes effect on the premise that it is in the whitelist but not in the blacklist.
Update whitelists and blacklists
You can update a blacklist or whitelist by adding and deleting tables.
Add a table: Add a JSON object to the
subattribute of the corresponding database, specifyname,map, and other parameters, and add the object to thesubarray.Delete a table: Find the table to be deleted and delete it from the whitelist or add the configuration of the table to the blacklist.
The following example updates the blacklist of the Incr-Sync component.
Go to the Update Configuration dialog box for the Incr-Sync component.
Log on to the OMS console.
In the left-side navigation pane, choose OPS & Monitoring > Component.
On the Component page, click the Incr-Sync tab.
On the Incr-Sync tab, click Update in the Actions column of the target Incr-Sync component.
Notice
OMS allows you to update the configurations of an Incr-Sync component in the Running, Stopped, or Abnormal state.
In the Update Configuration dialog box, hover the pointer over the blank area next to the
subparameter underblackConditionand click the Add icon that appears.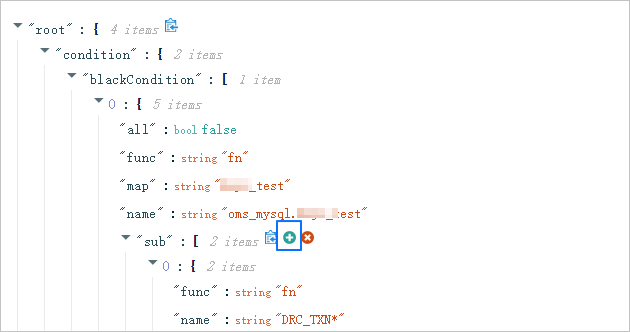
To update a whitelist, hover the pointer over the blank area next to the
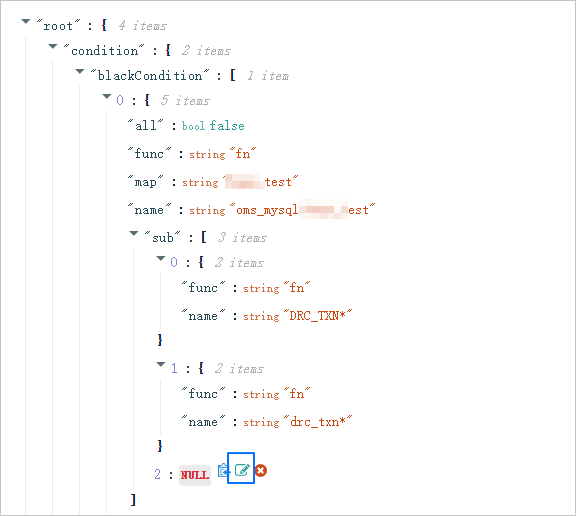
subparameter underwhiteConditionand click the Add icon that appears.Hover the pointer over the new object and click the Edit icon that appears.
In the text box, enter a pair of braces
{}and click the Confirm icon next to{...}.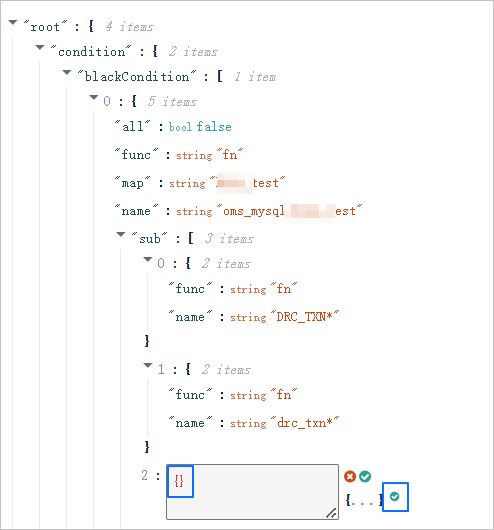
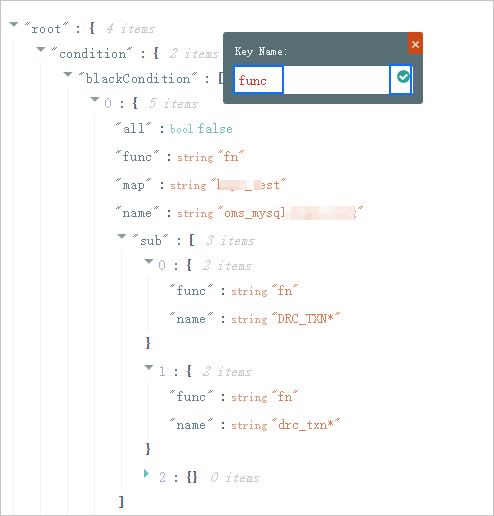
Hover the pointer over the blank area next to
{}and click the Add icon that appears.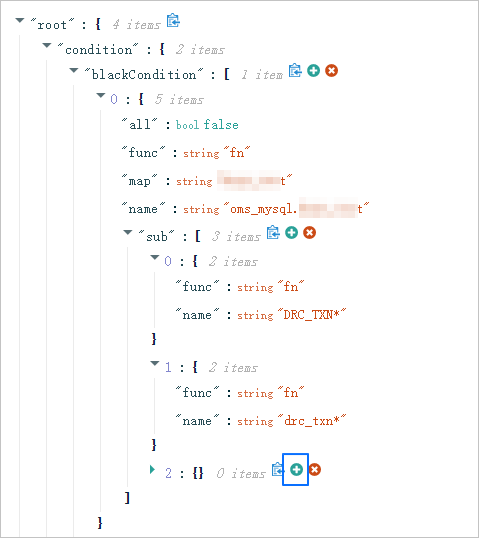
In the text box, specify Key Name and click the Confirm icon.
Find the new key name. The default value is NULL.
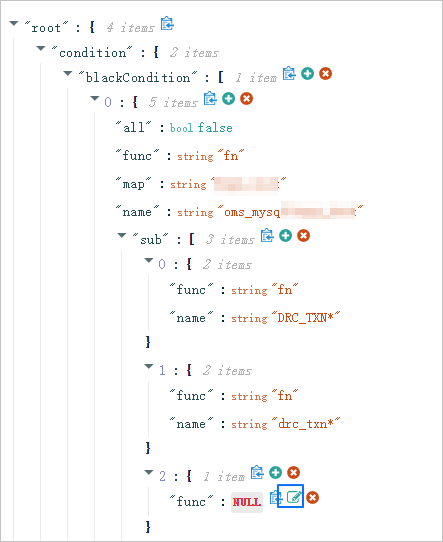
Hover the pointer over the new parameter and click the Edit icon that appears. Modify the parameter value and click the Confirm icon.
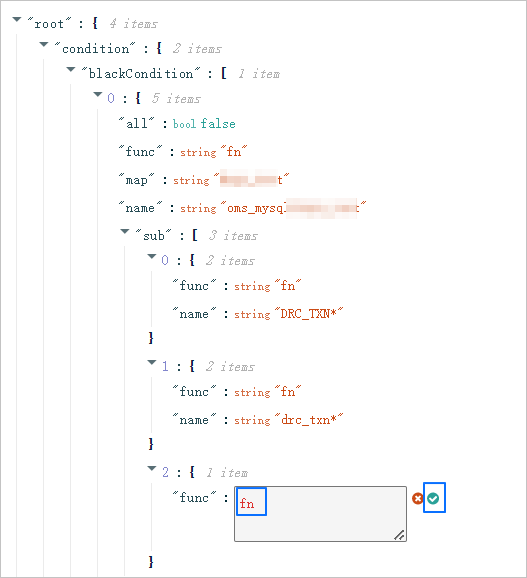
In the Update Configuration dialog box, add other parameters in the similar way and click OK.