


OceanBase Migration Service (OMS) allows you to specify the IP address and port of oblogproxy for incremental data synchronization in network isolation scenarios.
Prerequisites
oblogproxy has been installed.
Considerations
You must specify the Username and Password fields in the Advanced Options section for the OceanBase data source.
You must perform different operations when you change oblogproxy in the following scenarios:
You want to abandon the original oblogproxy and use a new IP address and port. In this case, you must re-create all related projects.
Multiple oblogproxies exist. In this case, different projects use different oblogproxies. You can modify the
oms.oceanbase.logproxy.poolsystem parameter to change the IP address and port of the oblogproxy.
Parameters
In OMS V4.0.2 and later, you can use the oms.oceanbase.logproxy.pool system parameter to control the configuration of oblogproxy. OMS automatically identifies this parameter. After you specify the Username and Password fields in the Advanced Options section for the OceanBase data source, OMS automatically uses the oblogproxy store.

The value of the oms.oceanbase.logproxy.pool system parameter is a JSON string.
Note
Enter the IP address and port based on the actual situation.
{
    "__default__": "xxx.xxx.xxx.1:3983",// Global default configurations
    "cluster_a": {
    "__default__": "xxx.xxx.xxx.2:3983",// Default cluster configurations
    "tenant_a1": "xxx.xxx.xxx.3:3983"// Tenant configurations
    },
    "cluster_b": {
    "__default__": "xxx.xxx.xxx.4:3983"
    },
    "cluster_c": {
    "tenant_c1": "xxx.xxx.xxx.5:3983"
    }
}
OMS allows you to configure oblogproxy based on three granularities:
__default__,cluster, andtenant.For a given OceanBase cluster, search by its {cluster ID} and {tenant ID}:
If both the {cluster ID} and {tenant ID} are hit, the cluster ID and tenant ID are returned.
For example, if
cluster_aandtenant_a1are hit, thexxx.xxx.xxx.3:3983configuration oftenant_a1is used. Other tenants in thecluster_acluster use the default configurationxxx.xxx.xxx.2:3983ofcluster_a.If only the {cluster ID} is hit but the {tenant ID} is not hit and the JSON string of the {cluster ID} contains the
__default__attribute, this oblogproxy is used.For example, all tenants in the
cluster_bcluster will use thexxx.xxx.xxx.4:3983configuration.If the {cluster ID} is not hit but the JSON root node contains the
__default__attribute, this oblogproxy is used.For example, the
tenant_c1tenant in thecluster_ccluster will use thexxx.xxx.xxx.5:3983configuration, and other tenants in the cluster will use the global default configurationxxx.xxx.xxx.1:3983.If none of the preceding conditions is met, it is considered that no oblogproxy was configured for the OceanBase cluster. In this case, incremental data cannot be consumed from oblogproxy.
If neither the {cluster ID} nor the {tenant ID} is hit, the global default configuration is used. For the preceding configurations, the clusters and tenants except for
cluster_a,cluster_b, andcluster_cwill use the global default configurationxxx.xxx.xxx.1:3983.
Procedure
Before you configure the oms.oceanbase.logproxy.pool system parameter, theOBLogProxy and Port fields for the target OceanBase data source are empty on the Data Source Management page.
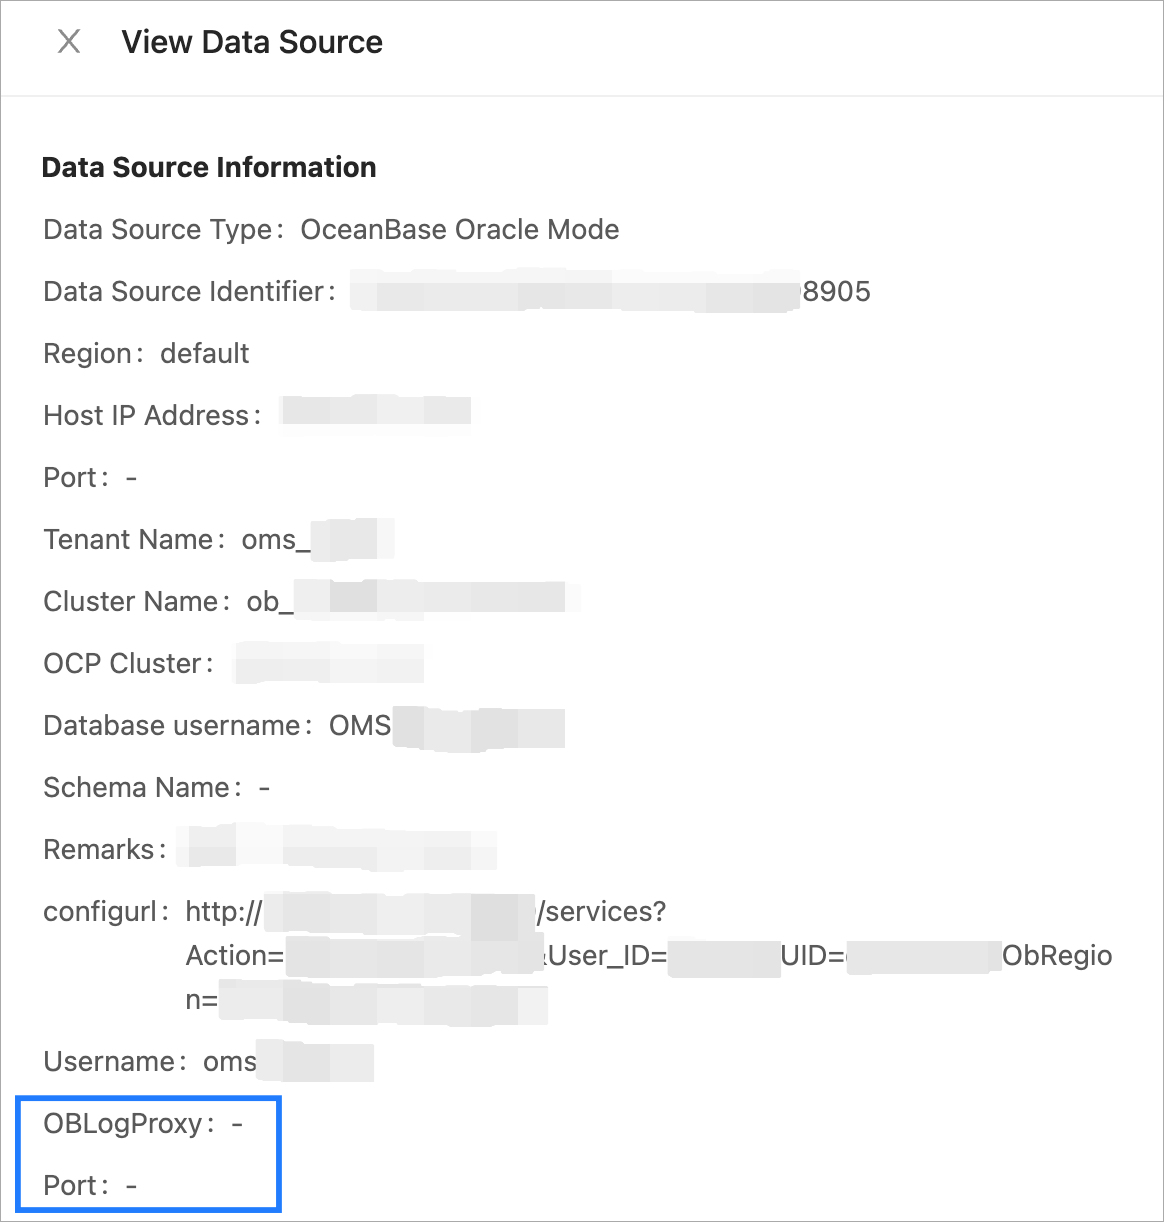
Perform the following steps to update the OBLogProxy and Port fields for the OceanBase data source.
Log on to the OMS console.
In the left-side navigation pane, choose System Management > System Parameters.
Click the
Editicon in the Value column of theoms.oceanbase.logproxy.poolparameter.In the Modify Value dialog box, set Value or click Reset to Default.
Click OK.
Then, you can view the
OBLogProxyandPortfields for the OceanBase data source.