


Log on to OceanBase Developer Center (ODC) and click the name of the target connection to go to the corresponding connection management page. You can click Function in the left-side navigation pane to get a list of functions.
In the function list, you can view the structure tree of an object, or right-click the target object to perform some management actions on the object. You can also double-click the name of the target function to go to the function management page.
Structure tree
You can click the expand icon before the name of the target function in the function list, and the structure tree of the function is displayed in a drop-down list, as shown in the following figure. The structure tree of a function can have up to three levels. When you right-click an item in the tree, the shortcut menu displays some actions that you can perform on the item. For more information about these actions, see the Management actions section. In this section, you can find the table describing the management options.

Management actions
The names of function objects support ascending order by the head character by default in the function list.
Shortcut function
The following functions are provided in the upper right corner of the tree:
Action |
Description |
|---|---|
| Create | Click this option to create function. |
| Filter | Click this option to display valid/invalid functions. |
| Batch Compile | Click this option to batch compile the function object. Including: compile all objects and compile invalid objects. 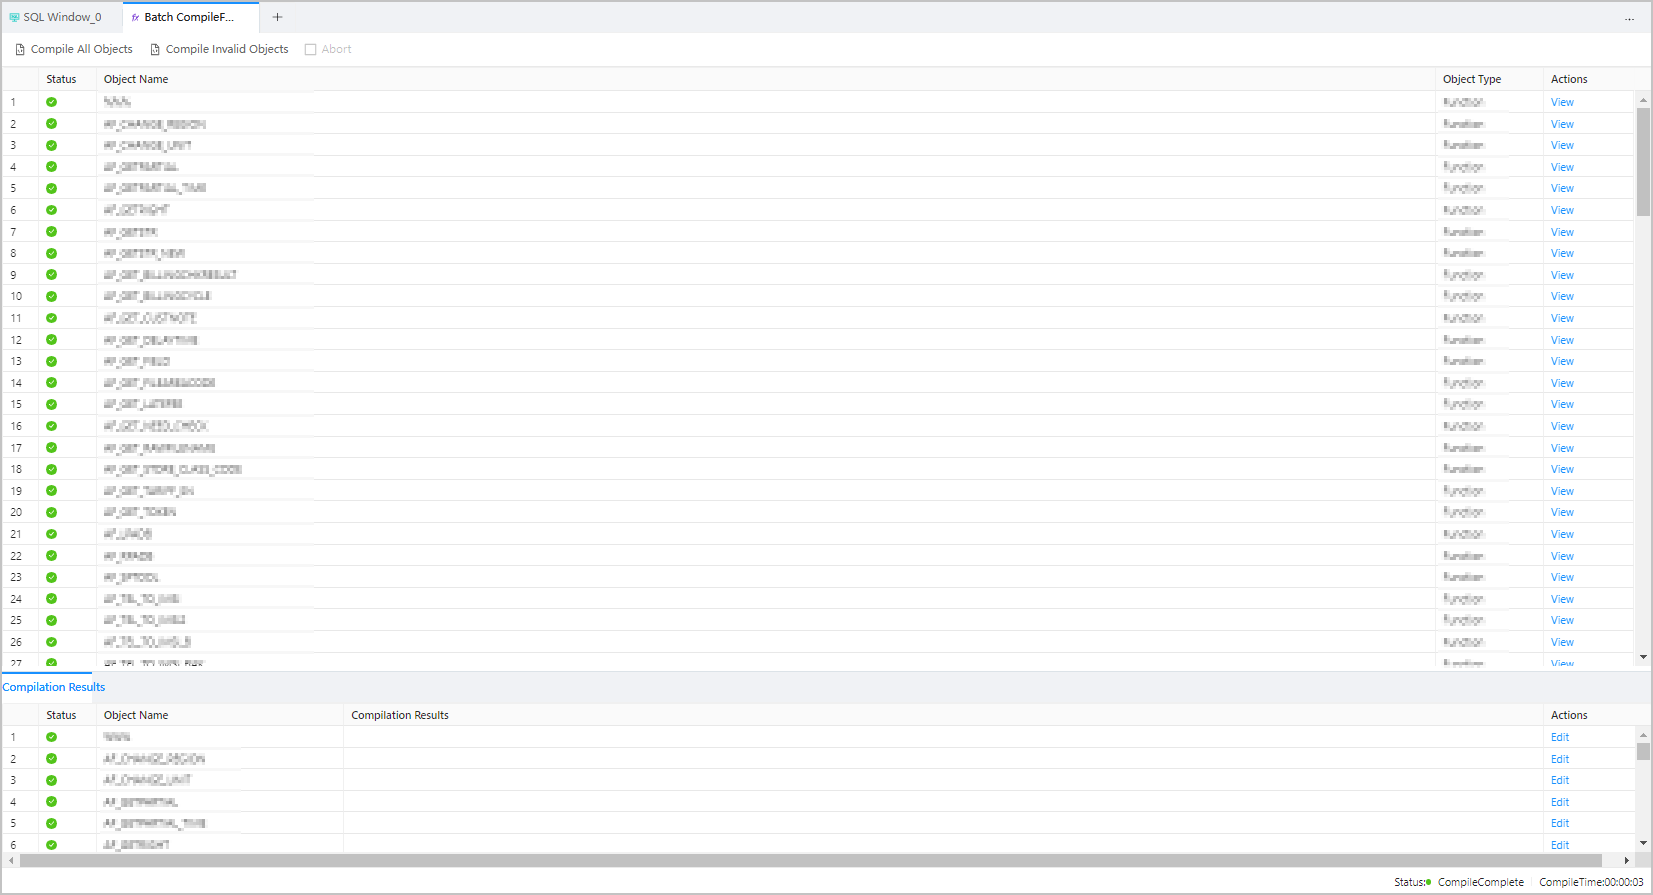 |
| Refresh | Click this option to refresh the structure tree after you perform management actions on the function, so that the structure tree displays the latest information. |
Right-click function
After you right-click an item in the structure tree, a shortcut menu appears and displays some actions that you can take to manage the item. The following table describes the management actions in details:
Action |
Description |
|---|---|
| View | Click this option to go to the function management page. On this page, you can view comprehensive information such as the basic information, parameters, and code of the function. |
| Create | Click this option to go to the Create Function page, where you can create a function as prompted. |
| Edit | Click this option to go to the function management page, which displays the statements that define the function and where you can edit the function.
NoteThe editing function is not supported in OceanBase MySQL mode. |
| Compile | Click this option to compile the function. |
| Debug | Click this option to go to the debugging page. On this page, you can debug the function.
Note |
| Run | Click this option to execute the function. |
| Export | Export single table, see Single table export and import. |
| Download | Download the SQL file for the function object. |
| Delete | Click this option to delete the function. |
| Refresh | Click this option to refresh the structure tree after you perform management actions on the function, so that the structure tree displays the latest information. |
Function management page

You can double-click the name of the target function in the function list to go to the function management page. The function management page displays the following information:
Section |
Description |
|---|---|
| Basic Information | This section displays the basic information about the function in fields such as Function Name , Return Type , and Created By. |
| Parameter | This section displays the information about the parameters in fields such as Name , Order , Mode , Data Type , and Default Value . Click the  icon to refresh the parameters. icon to refresh the parameters. |
| DDL | This section displays the script that defines the function and provides the Edit, Download, Find, and Refresh icons.
Note |
Function editing page
Right-click the target item in the function list. In the menu that appears, click Edit to go to the function editing page. In the code area of the editing page, the statements that define the function are displayed. You can edit the statements. In addition, the toolbar provides the following buttons:
Button |
Description |
|---|---|
| Confirm Modification | Click this button to apply the current modification. |
| Compile | Click this button to compile the statements on the current page. |
| Run | Click this button to execute the statements in the code area. |
| Abort | Click this button to terminate the running statement. |
| Debug | Click this button to go to the debugging page, where you can debug the PL object in the code area. |
| Format | Click this button to apply the formatting, such as indentation, line break, and keyword highlighting, to the selected SQL statements or all the SQL statements in the current SQL window. |
| Find and Replace | You can enter text in the search field to find the specific content and enter text in the replacement field to replace the content found. |
| Undo | Click this button to undo the last operation. |
| Redo | Click this button to reverse an Undo operation. |
| Case Sensitivity | The system supports three capitalization options: All C aps , All Lowercase , and Capitalize First Letter . Click the corresponding option to convert the selected statements in the script to the desired capitalization format. |
| Indent | You can add indents to or delete indents from the statements that you selected. |
| Comments | You can click Add Comments to convert the statements that you select into comments or click Delete Comment to convert comments to SQL statements. |
| IN Value Conversion | Click this button to convert the copied rows or columns into the specified format during queries. After you paste the copied data to the SQL editing area, select the copied data and click IN Value Conversion to convert it into the in('A','B') format.
|
| Snippets | Built-in syntax snippets and custom syntax snippets are provided to view and reference. See Snippet for details. |
| Download | Download the SQL file for the function object. |