


CDC Connectors for Apache Flink (Flink CDC for short) is a set of source connectors for Apache Flink. Flink CDC can read historical data and incremental changes from most databases in real time. Flink CDC can synchronize full and incremental data of different databases to message queues and data warehouses. You can also use Flink CDC for real-time data integration, to import database data to a data lake or data warehouse in real time. Flink CDC also supports data processing. You can use the SQL client of Flink CDC to associate, widen, and aggregate database data in real time, and write the results to various stores. Change Data Capture (CDC) helps you monitor and capture changes in databases. You can do many things with data provided by CDC. For example, you can use the data to make historical databases or perform near real-time caching. You can also provide the CDC data to message queues (MQs), so you can use MQs for analysis and auditing.
This topic describes how to use Flink CDC to synchronize data from a MySQL database to OceanBase Database.
Prepare the Flink CDC environment
Download Flink CDC and the required dependent packages:
Download Flink 1.15.3 and decompress it to the
/FLINK_HOME/flink-1.15.3directory.Download the dependent packages listed below and put the packages in the
/FLINK_HOME/flink-1.15.3/lib/directory.
Prepare data
Prepare data in the MySQL database
Prepare test data in the MySQL database and use the test data as the source data to be imported to OceanBase Database.
Go to the MySQL database.
[xxx@xxx /...]
$mysql -hxxx.xxx.xxx.xxx -P3306 -uroot -p******
<Omit echo information>

MySQL [(none)]>
Create the
test_mysql_to_obdatabase and thetbl1andtbl2tables, and insert data into the tables.MySQL [(none)]> CREATE DATABASE test_mysql_to_ob; Query OK, 1 row affected MySQL [(none)]> USE test_mysql_to_ob; Database changed MySQL [test_mysql_to_ob]> CREATE TABLE tbl1(col1 INT PRIMARY KEY, col2 VARCHAR(20),col3 INT); Query OK, 0 rows affected MySQL [test_mysql_to_ob]> INSERT INTO tbl1 VALUES(1,'China',86),(2,'Taiwan',886),(3,'Hong Kong',852),(4,'Macao',853),(5,'North Korea',850); Query OK, 5 rows affected Records: 5 Duplicates: 0 Warnings: 0 MySQL [test_mysql_to_ob]> CREATE TABLE tbl2(col1 INT PRIMARY KEY,col2 VARCHAR(20)); Query OK, 0 rows affected MySQL [test_mysql_to_ob]> INSERT INTO tbl2 VALUES(86,'+86'),(886,'+886'),(852,'+852'),(853,'+853'),(850,'+850'); Query OK, 5 rows affected Records: 5 Duplicates: 0 Warnings: 0
Prepare data for OceanBase Database
Create a table in OceanBase Database to store the source data.
Log on to OceanBase Database.
Log on to the
mysql001tenant using the useruser001.[xxx@xxx /...] $obclient -h10.10.10.2 -P2881 -uuser001@mysql001 -p -A Enter password: Welcome to the OceanBase. Commands end with ; or \g. Your OceanBase connection id is 3221536981 Server version: OceanBase 4.0.0.0 (r100000302022111120-7cef93737c5cd03331b5f29130c6e80ac950d33b) (Built Nov 11 2022 20:38:33) Copyright (c) 2000, 2018, OceanBase and/or its affiliates. All rights reserved. Type 'help;' or '\h' for help. Type '\c' to clear the current input statement. obclient [(none)]>Create a database named
test_mysql_to_oband a table namedmysql_tbl1_and_tbl2.obclient [(none)]> CREATE DATABASE test_mysql_to_ob; Query OK, 1 row affected obclient [(none)]> USE test_mysql_to_ob; Database changed obclient [test_mysql_to_ob]> CREATE TABLE mysql_tbl1_and_tbl2(col1 INT PRIMARY KEY,col2 INT,col3 VARCHAR(20),col4 VARCHAR(20)); Query OK, 0 rows affected
Start a Flink cluster and Flink SQL CLI
Run the following command to go to the Flink directory:
[xxx@xxx /FLINK_HOME]
#cd flink-1.15.3
Run the following command to start the Flink cluster:
[xxx@xxx /FLINK_HOME/flink-1.15.3]
#./bin/start-cluster.sh
If the Flink cluster is started, you can access the Flink Web UI by using a URL in the format of
http://localhost:8081/: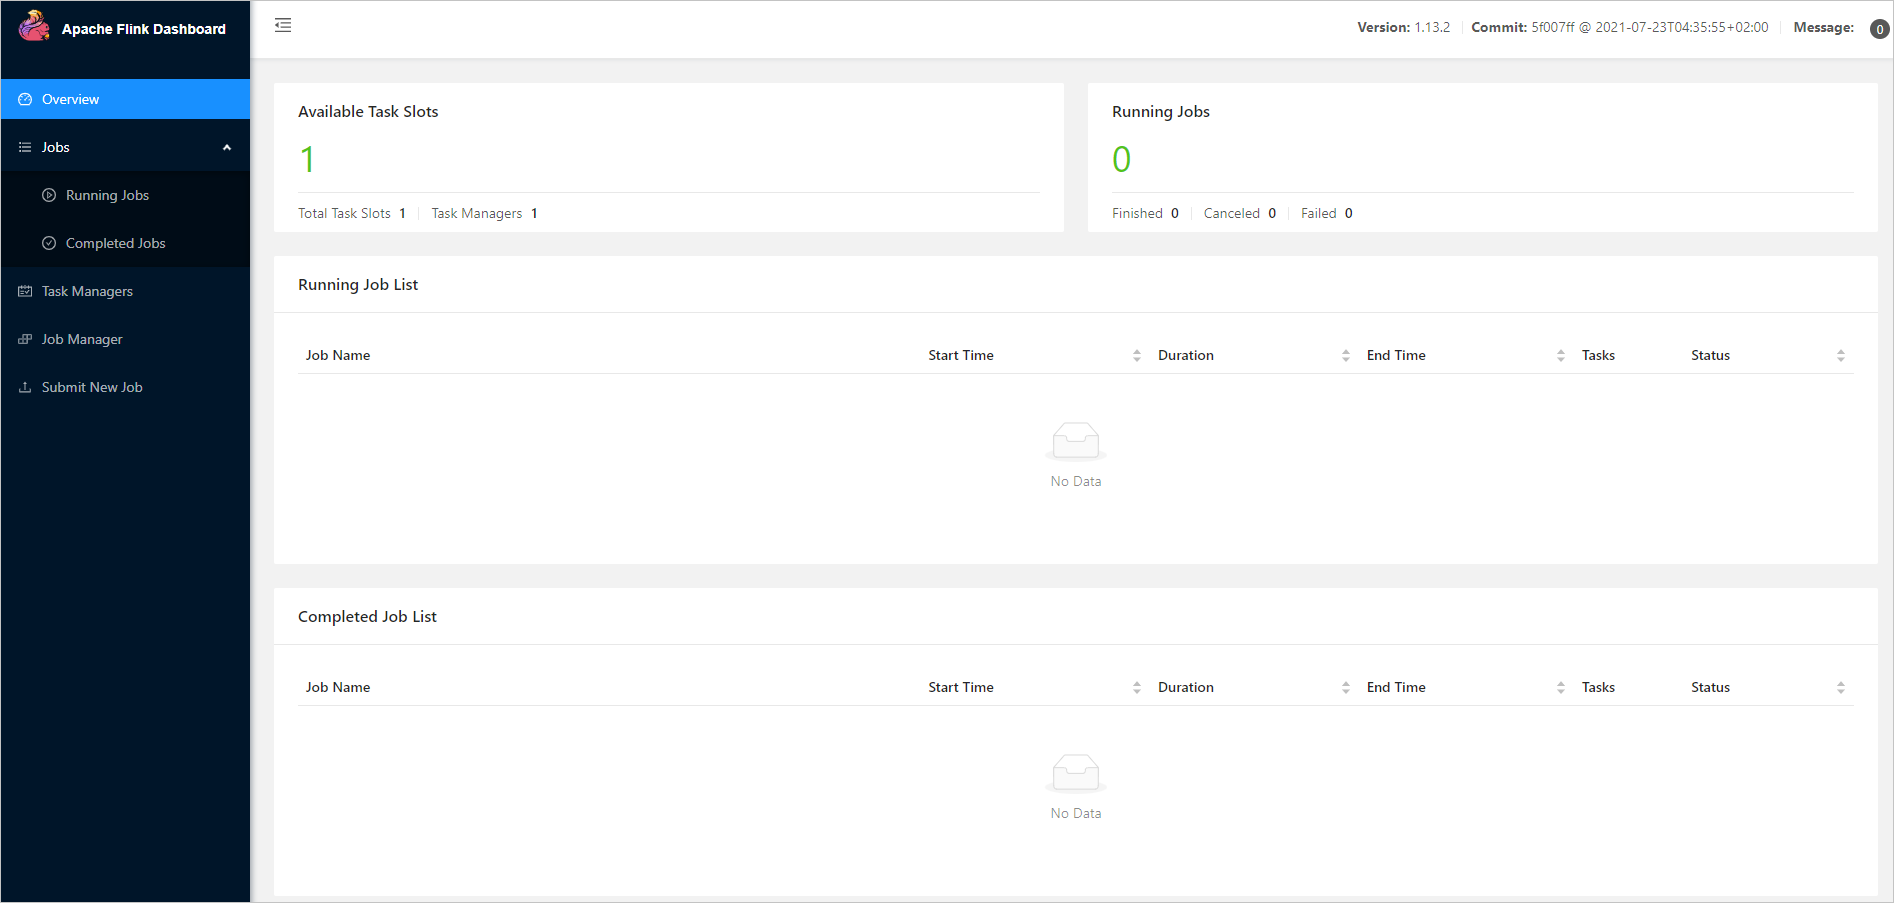
Note
After you execute the
./bin/start-cluster.shfile, ifbash: ./bin/start-cluster.sh: Permission deniedis returned, you need to set the privileges on all files with the-rw-rw-r--privileges in theflink-1.15.3directory to-rwxrwxrwx.For example:
 [xxx@xxx /FLINK_HOME/flink-1.15.3]
 # chmod -R 777 /FLINK_HOME/flink-1.15.3/*
Run the following command to start the Flink SQL CLI:
[xxx@xxx /FLINK_HOME/flink-1.15.3]
#./bin/sql-client.sh
After the Flink SQL CLI is started, the following page appears:

Set checkpoints
In the Flink SQL CLI, enable checkpointing and set the checkpointing interval to 3s.
Flink SQL> SET execution.checkpointing.interval = 3s;
[INFO] Session property has been set.
Create MySQL CDC tables
Create tables for the MySQL database in the Flink SQL CLI.
In the Flink SQL CLI, create tables corresponding to the tbl1 and tbl2 tables in the MySQL database named test_mysql_to_ob, to synchronize data from these underlying tables in the MySQL database.
Flink SQL> CREATE TABLE mysql_tbl1 (
    col1 INT PRIMARY KEY,
    col2 VARCHAR(20),
    col3 INT)
    WITH (
    'connector' = 'mysql-cdc',
    'hostname' = 'xxx.xxx.xxx.xxx',
    'port' = '3306',
    'username' = 'root',
    'password' = '******',
    'database-name' = 'test_mysql_to_ob',
    'table-name' = 'tbl1');
[INFO] Execute statement succeed.

Flink SQL> CREATE TABLE mysql_tbl2 (col1 INT PRIMARY KEY,
    col2 VARCHAR(20))
    WITH ('connector' = 'mysql-cdc',
    'hostname' = 'xxx.xxx.xxx.xxx',
    'port' = '3306',
    'username' = 'root',
    'password' = '******',
    'database-name' = 'test_mysql_to_ob',
    'table-name' = 'tbl2');
[INFO] Execute statement succeed.
For more information about the WITH options of MySQL CDC Connector, see Connector Options.
Create CDC tables for OceanBase Database
Create tables for OceanBase Database in the Flink SQL CLI. Create the mysql_tbl1_and_tbl2 table to accommodate the associated data written to OceanBase Database.
Flink SQL> CREATE TABLE mysql_tbl1_and_tbl2(
    col1 INT PRIMARY KEY,
    col2 INT,col3 VARCHAR(20),
    col4 VARCHAR(20))
    WITH ('connector' = 'jdbc',
    'url' = 'jdbc:mysql://10.10.10.2:2881/test_mysql_to_ob',
    'username' = 'root@mysql001',
    'password' = '******',
    'table-name' = 'mysql_tbl1_and_tbl2');
[INFO] Execute statement succeed.
For more information about the WITH options of JDBC SQL Connector, see Connector Options.
Write data to OceanBase Database in the Flink SQL CLI
Use the Flink SQL CLI to associate the tbl1 table with the tbl2 table and write the associated information to OceanBase Database.
Flink SQL> INSERT INTO mysql_tbl1_and_tbl2
    SELECT t1.col1,t1.col3,t1.col2,t2.col2
    FROM mysql_tbl1 t1,mysql_tbl2 t2
    WHERE t1.col3=t2.col1;
[INFO] Submitting SQL update statement to the cluster...
Loading class `com.mysql.jdbc.Driver'. This is deprecated. The new driver class is `com.mysql.cj.jdbc.Driver'. The driver is automatically registered via the SPI and manual loading of the driver class is generally unnecessary.
[INFO] SQL update statement has been successfully submitted to the cluster:
Job ID: c5ee92498addf813858e448ec25e85af
Note
The MySQL driver (com.mysql.jdbc.Driver) used in this example is MySQL Connector/J 5.1.47. If you want to use a later MySQL driver version (com.mysql.cj.jdbc.Driver), use MySQL Connector/J 8.x.
Check the associated data written to OceanBase Database
Log on to OceanBase Database and view the data of the mysql_tbl1_and_tbl2 table in the test_mysql_to_ob database.
obclient [test_mysql_to_ob]> SELECT * FROM mysql_tbl1_and_tbl2;
+------+------+-------------+------+
| col1 | col2 | col3        | col4 |
+------+------+-------------+------+
|    1 |   86 | China       | +86  |
|    2 |  886 | Taiwan      | +886 |
|    3 |  852 | Hong Kong   | +852 |
|    4 |  853 | Macao       | +853 |
|    5 |  850 | North Korea | +850 |
+------+------+-------------+------+
5 rows in set
View data updates
Separately insert a piece of data into the
tbl1andtbl2tables in the MySQL database.MySQL [test_mysql_to_ob]> INSERT INTO tbl1 VALUES(6,'code',673); Query OK, 1 row affected MySQL [test_mysql_to_ob]> INSERT INTO tbl2 VALUES(673,'+673'); Query OK, 1 row affectedCheck whether the data is synchronized to OceanBase Database.
obclient [test_mysql_to_ob]> SELECT * FROM mysql_tbl1_and_tbl2;
+------+------+-------------+------+
| col1 | col2 | col3        | col4 |
+------+------+-------------+------+
|    1 |   86 | China       | +86  |
|    2 |  886 | Taiwan      | +886 |
|    3 |  852 | Hong Kong   | +852 |
|    4 |  853 | Macao       | +853 |
|    5 |  850 | North Korea | +850 |
|    6 |  673 | code        | +673 |
+------+------+-------------+------+
6 rows in set