


In this tutorial, you will learn how to use the OceanBase Cloud Console to create a database and an account, and then interact with your database, including inserting and querying sample data, using the SQL Console.
Prerequisites
- You have created a cluster instance and a tenant in the MySQL mode under the instance.
- You have the role of an organization admin or project admin.
Step 1: Select an Instance and a Tenant
To start off, choose an instance and a tenant in the MySQL mode to proceed with this tutorial.
Note
Selecting an instance and a tenant is required in this tutorial, as all subsequent actions will be performed within the selected instance and tenant. This tutorial requires importing a sample data file of about 128 MB.
Step 2: Create a Database
Click to navigate to the Databases page.
Click Create Database.
In the Create Database dialog, enter
test_dbas the database name, choose the character set, and then click Create.
Step 3: Create an Account
Click to navigate to the Accounts page.
Click Create Account.
In the Create Account dialog, fill in the following details.
ParameterDescriptionAccount Name Enter test_account.Account Type Select Regular Account. For more information about different types of account, refer to Create an account. Database Authorization Select test_dband grant the Read/Write privilege.Password Enter a password for test_account. Please save your password securely.Click Create.
Step 4: Insert Sample Data into Your Database
Click to navigate to the Load Data page.
Click Import Sample Data.
In the Import Sample Data dialog, select the TPC-DS tab.
Select
test_db, and then click Import.Wait for the status in the Progress column to show "Succeed", indicating successful data import.
Step 5: Interact with Sample Data
Click to navigate to the SQL Console page.
Select
test_accountunder Database Account, and enter the password.Click Connect.
In the SQL Console, double click
test_dbon the left-side pane to open a new SQL window.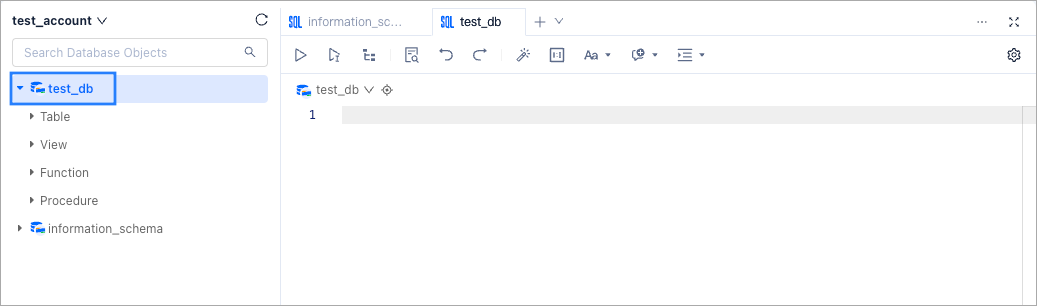
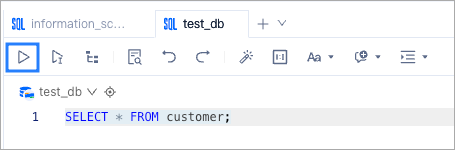
In the SQL window, enter the following SQL statement to view all customers in the
customertable:SELECT * FROM customer;Click the Run button to execute the SQL statement.
The Results tab will display all customer information from the
customertable.To filter customers based on specific criteria, for example, generating a list of customers whose birthday month is December, enter the following SQL statement:
SELECT *
FROM customer
WHERE c_birth_month = '12';
Click the Run button to execute the SQL statement.
The SQL Console will return the corresponding results in the Results tab. Feel free to enter different SQL statements to explore and interact with the database using the SQL Console.