


OceanBase Developer Center (ODC) allows you to export and import the schemas and data of database objects in batches.
After you open a database connection, click Tools in the top navigation bar, and then select Export or Import from the drop-down list to go to the corresponding settings panel.
The following table describes the requirements for the size of imported and exported data and the period of file retention in ODC.
Requirement |
Description |
|---|---|
| Size of imported and exported data in ODC | * The maximum size of files imported in one batch cannot exceed 2 GB after compression. To import data of a larger size, use the data import tool OBLOADER. * The maximum size of files exported in one batch cannot exceed 2 GB before compression. To export data of a larger size, use the data export tool OBDUMPER. |
| File retention period on the server | * The status of a task, such as Succeeded, Failed, or Cancelled, does not affect the lifecycle of the file. * A task is retained only for 24 hours. When the task is cleared, the related files are cleared. * You can click Delete in the Actions column of a task to delete the task. When you delete a task, the related files are also deleted. |
Batch export
In the Export Data Settings panel, you can export the schemas and data of multiple database objects to files in the specified format at the same time.

Procedure
View Connection .
The name of the database connection to which the task belongs.
Select Database .
Select the database to be changed.
Specify Export Content .
ODC supports three export modes: Export Data Only , Export Schema Only , and Export Schema and Data . Export Schema Only exports the definition statements of the target object. You need to select the export content in the drop-down list of Export Content .
Specify Data Format .
ODC currently supports exporting data to files in CSV format and SQL format. If you specify Export Schema Only for Export Content , you can only export data to files in SQL format. For more information about formats, see Export and import formats .
Specify Encoding Standard .
ODC supports the following character sets: ASCII , ISO-8859-1 , GB2312 , GBK , GB1803 0 , Unicode (UTF-8) , Unicode (UTF-16) , Unicode (UTF-32) and BIG5 . You need to select the character set from the drop-down list of Encoding Standard .
Specify Export Objects .
In the table below Export Objects , select the objects you want to export. The table displays the Object Name and Object Type columns. You can filter objects by Object Type or search for target objects in the search box. You can export functions and stored procedures in MySQL mode.
Specify Export Data Settings .
If you specify Export Schema Only for Export Content , you do not need to complete the export data settings. You need to specify the following fields:
Use Global Snapshot : If you select this option, ODC exports the data in the latest global snapshot of the specified table to ensure global data consistency.
Batch Commit Quantity (SQL format): You can click Advanced next to Export Data Settings to specify this field. If you specify the SQL format for Data Format , you can specify the number of rows to be committed during the export. When this number is reached, a
COMMITcommand is executed.Skipped Data Types : You can click Advanced Settings next to Export Data Settings to specify this field. Here, you can specify the data types that you want to skip when you export the data. The data types that can be skipped are different in MySQL and Oracle modes. You can select multiple data types.
Specify information for the CSV format. If you specify the CSV format for Data Format and Export Data Only or Export Schema and Data for Export Content , you can click Advanced Settings next to Export Data Settings to specify the following fields:
Include Column Header : This option is selected by default to determine whether to include column headers when data is exported in CSV format.
Convert Empty String to Null Value : This option is selected by default to determine whether to convert empty strings in the table to NULL values (\N) when data is exported in CSV format.
Field Delimiter : This option specifies the delimiter between fields. The following signs are supported: commas ( , ), semicolons ( ; ), and colons ( : ). You can also use a character as the delimiter.
Text Identifier : This option specifies the identifier for the text content. Single quotation marks ( ' ) and double quotation marks ( " ) are supported.
Line Break Sign : This option specifies the sign for the line break. The following characters are supported: \n , \r , and \r\n .
Specify Export Schema Settings .
Select whether to add the DROP statement. If you select this option, a
DROPstatement is added to the correspondingCREATEstatement in the export file.Configure Sys Tenant Account Settings .
Select Use sys Account to Accelerate Export Task or not. If you select this option, you need to enter the account and password of the SYS tenant in the Account and Password fields. Then, you can use permissions of this account to export data, which accelerates the export task. Notice
The account and password of a user in the SYS tenant are required. Do not enter @sys#cluster in the Account field. The following figure shows an example.
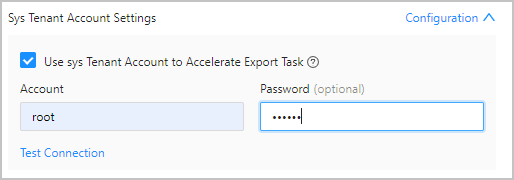
To export objects other than tables and views, you must specify the SYS tenant account.
Otherwise, annotations and indexes are not imported or exported.
Generate an export task.
After you specify all preceding information, you can click Export in the lower-right corner of the panel to generate an export task.
View the export task.
After the export task is generated, the Task Center panel automatically appears, where you can view the task information and download exported data files. For more information, see Export tasks.
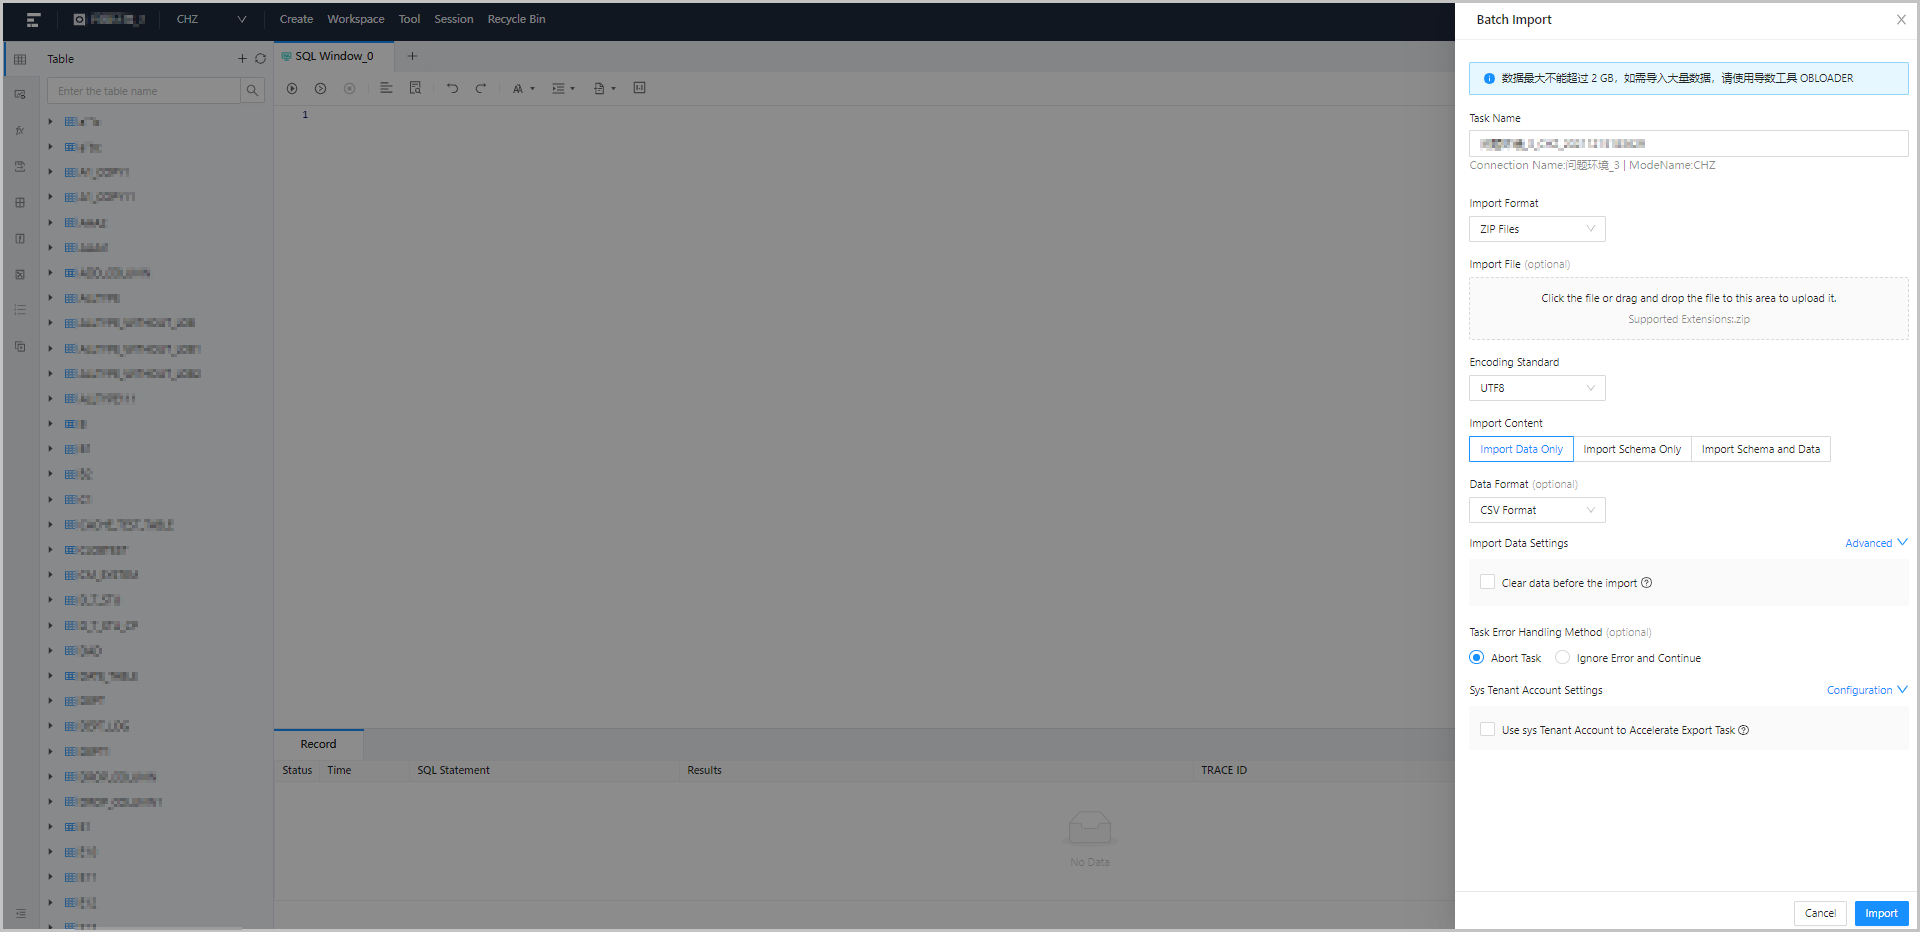
Batch import
In the Import Data Settings panel, you can choose to import the schemas and data to multiple database objects at the same time.
Procedure
View Connection .
The name of the database connection to which the task belongs.
Select Database .
Select the database to be changed.
Specify Import Format .
ODC currently supports SQL files and ZIP files for batch import. You need to select the data format in the drop-down list of Import Format . For more information about formats, see Export and import formats .
Upload the file to be imported.
Click the file pool to go to the file explorer and select the file to be imported. You can also directly drag the file to the file pool to upload it. The format of the uploaded file must be the same as that of the value you specified for Import Format. To upload a file in the ZIP file format, you must first package it into a .zip file. SQL files suffixed with .sql are supported.
Specify Encoding Standard .
ODC supports the following character sets: ASCII , ISO-8859-1 , GB2312 , GBK , GB1803 0 , Unicode (UTF-8) , Unicode (UTF-16) , Unicode (UTF-32) and BIG5 . You need to select the character set from the drop-down list of Encoding Standard .
Specify Import Content .
You must specify this item when you select ZIP Files for Import Format . ODC currently supports Import Data Only , Import Schema Only , and Import Schema and Data . Import Schema Only imports the definition statements of the target object. You need to select the import content in the drop-down list of Import Content .
Specify Data Format .
You must specify this item when you select ZIP Files for Import Format . ODC only supports importing data in CSV format and SQL format. For more information about formats, see Export and import formats . If you specify Import Schema Only for Import Content or SQL files for Import File , you do not need to select the data format.
Specify Import Data Settings .
If you specify ZIP Files for Import Format and Import Data Only or Import Schema and Data for Import Content , this option must be specified. You need to specify the following fields:
Clear Data Before Import : If you select this option, the original data in the destination object is cleared during data import.
Batch Commit Quantity : You can click Advanced Settings next to Import Data Settings to specify this field. When you specify this field, you specify the number of rows to be committed during the data import from the source files to the database. When this number is reached, a
COMMITcommand is executed.Skipped Data Types : You can click Advanced Settings next to Import Data Settings to specify this field. Here, you can specify the data types that you want to skip when you import the data. The data types that can be skipped are different in MySQL and Oracle modes. You can select multiple data types.
Specify Import Schema Settings .
You cannot specify this field if you select Import Data Only for Import Content . This field involves operations on schemas that already exist. If you select Skip , the system skips the schema definition statement in the file to be imported and directly imports the data. The original data in the object is retained. If you select Replace , the system executes the schema definition statement in the file to be imported to recreate an object and replace the original one. Data in the original object is cleared.
Specify Task Error Handling Method .
ODC supports two error handling methods: Abort Task and Ignore Error and Continue . You need to specify the handling method in Task Error Handling Method .
Configure Sys Tenant Account Settings .
Select Use sys Account to Accelerate Import Task or not. If you select this option, you need to enter the account and password of the SYS tenant in the Account and Password fields. Then, you can use permissions of this account to import data, which accelerates the import task. Notice
The account and password of a user in the SYS tenant are required. Do not enter @sys#cluster in the Account field. The following figure shows an example.
Otherwise, annotations and indexes are not imported or exported.
Generate the import task.
After you specify all preceding information, you can click Import in the lower-right corner of the panel to generate the import task.
View the import task.
After the task is generated, the Task Center panel automatically appears, where you can view the task information. For more information, see Import tasks.