


This topic describes how to use tcpdump to capture packets.
By default, the tcpdump tool is not installed in the ODC container. Therefore, you must use the host to capture packets from the container.
Step 1: Obtain the container PID
# Obtain container-id
docker ps | grep odc

# Obtain the PID of the container. Assume that the ODC container ID is `dceb`.
docker inspect dceb | grep Pid
Step 2: Go to the namespace of the container
Run the nsenter command to go to the network namespace of the container process.
# Assume that the PID of the ODC container is `84139`.
sudo nsenter -t 84139 -n
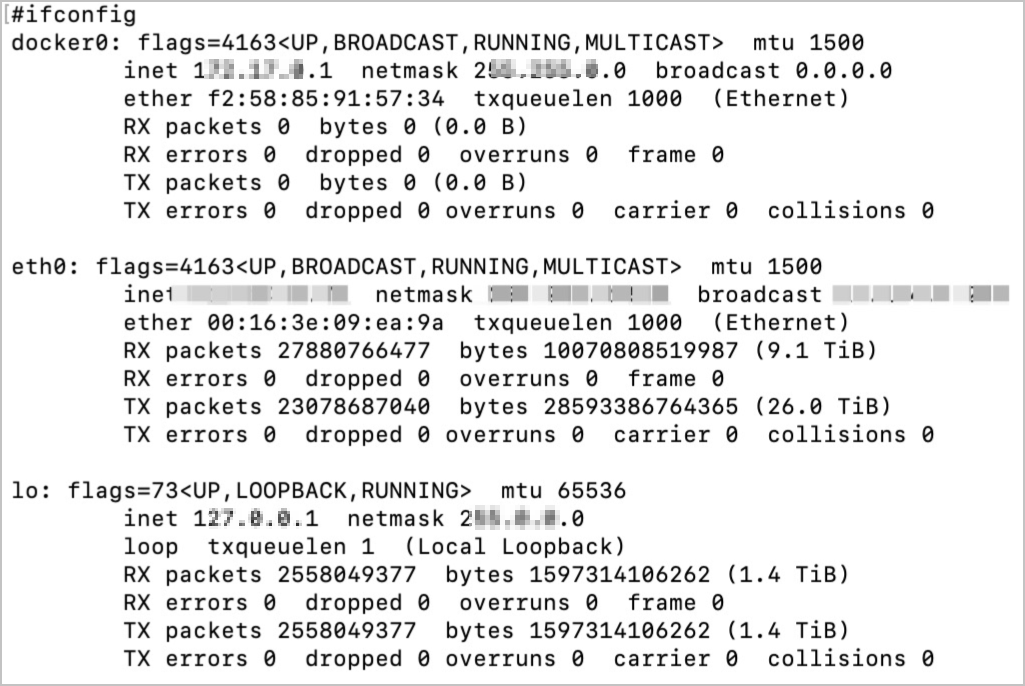
Run the ifconfig command to view the network interface controller (NIC) information of the container.
Step 3: Use tcpdump to capture packets
Here is the sample command:
tcpdump tcp -i eth0 -c 1000 -vvv and port 80 and src net ***.***.*.*/24 -w ./target.cap
The parameters are described in the following table.
Parameter |
Description |
|---|---|
| tcp | Specifies to capture only TCP packets. |
| -i eth0 | Specifies to capture only packets that pass through the eth0 port of the NIC. |
| -c 1000 | Specifies to capture only 1000 packets. |
| -vvv | Specifies to display detailed information. |
| port | The listening port.
NoticeThe internal port of the container is used. For example, if a container is bound to the port |
| scr net ***.***.*.*/24 | The source address of the packets is ***.**.*.*/24. |
| -w ./target.cap | Save the packets as a .cap file for the convenience of analysis in Wireshark. |